Netlify is a powerful and easy-to-use cloud platform that helps developers deploy and manage websites flexibly and efficiently. In this article, we will explore what Netlify is, its key features, and how to use it to deploy a website.
What Is Netlify?
Introduction
Netlify is a cloud platform that provides a complete set of tools for developing, deploying, and managing websites.
It offers features such as web hosting, CI/CD integration, custom DNS configuration, and many other tools. These features allow developers to focus on building their applications without having to worry about the deployment process.
Netlify Features
High-speed hosting: Netlify provides hosting through a global content delivery network, helping websites load faster and delivering a better user experience.
CI/CD integration: Netlify integrates continuous integration and continuous deployment into your workflow. This allows the platform to automatically test and deploy your project whenever changes are made to the source code.
Easy integration with GitHub and GitLab: Netlify connects directly to GitHub and GitLab repositories, allowing you to trigger an automatic deployment whenever the source code is updated.
Forms and Functions: Netlify provides features such as form handling and serverless functions, helping you build more dynamic and interactive applications.
Custom DNS: You can easily manage and configure your domain directly from the Netlify dashboard.
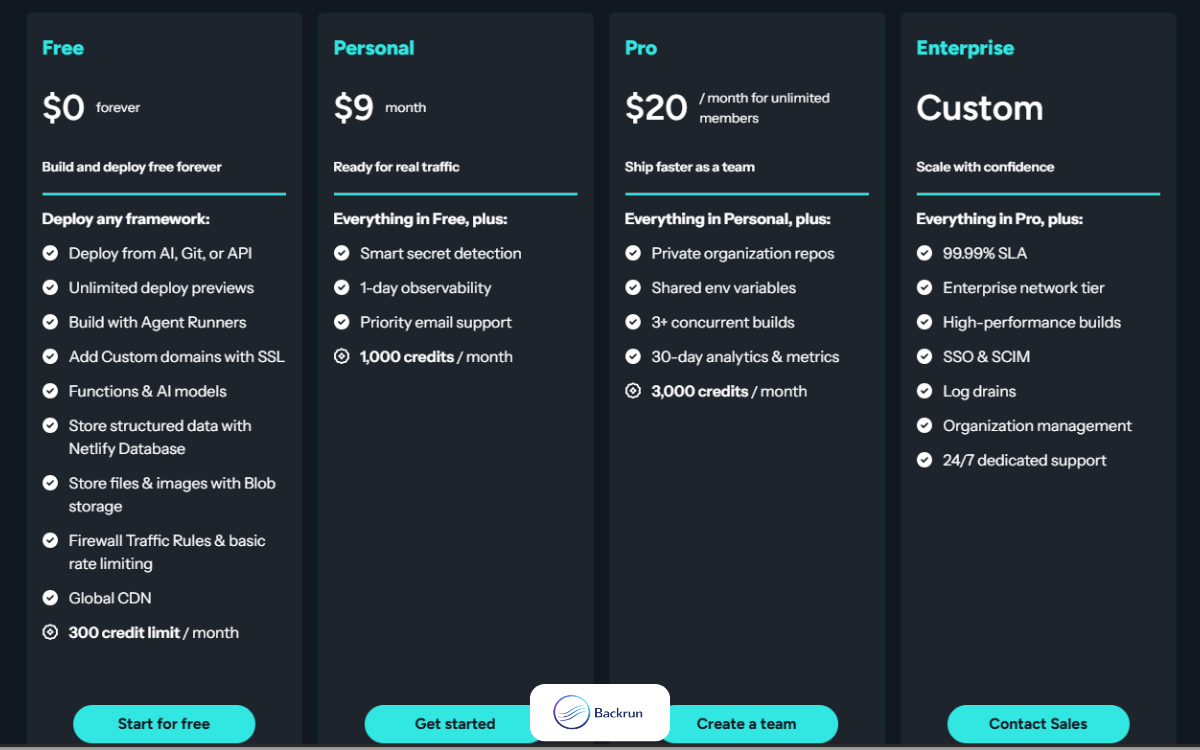
Hosting Costs
Netlify offers four plans: Free, Personal, Pro and Enterprise. For basic projects, the Free plan is usually more than sufficient.
Requirements Before Deploying to Netlify
To deploy a project through GitHub, you will generally need:
A GitHub account
A Netlify account
A GitHub repository containing your uploaded project. The repository can be either public or private.
How to Deploy on Netlify
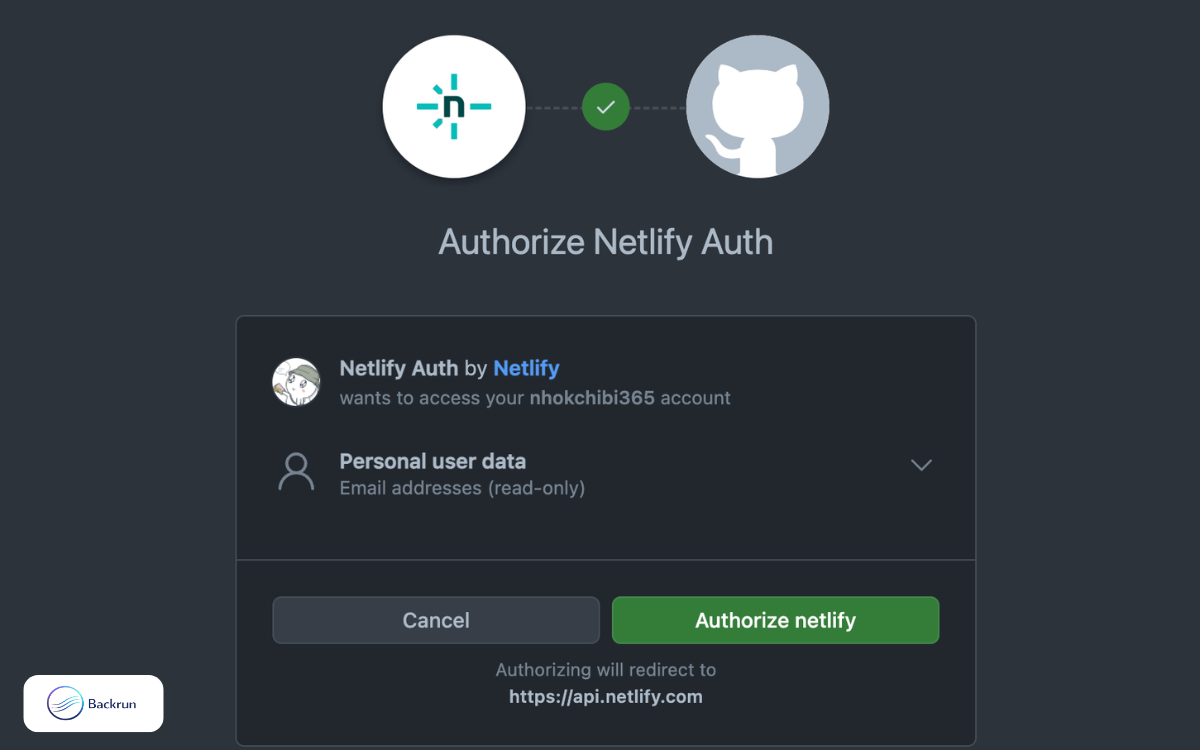
Step 1: Sign In with GitHub
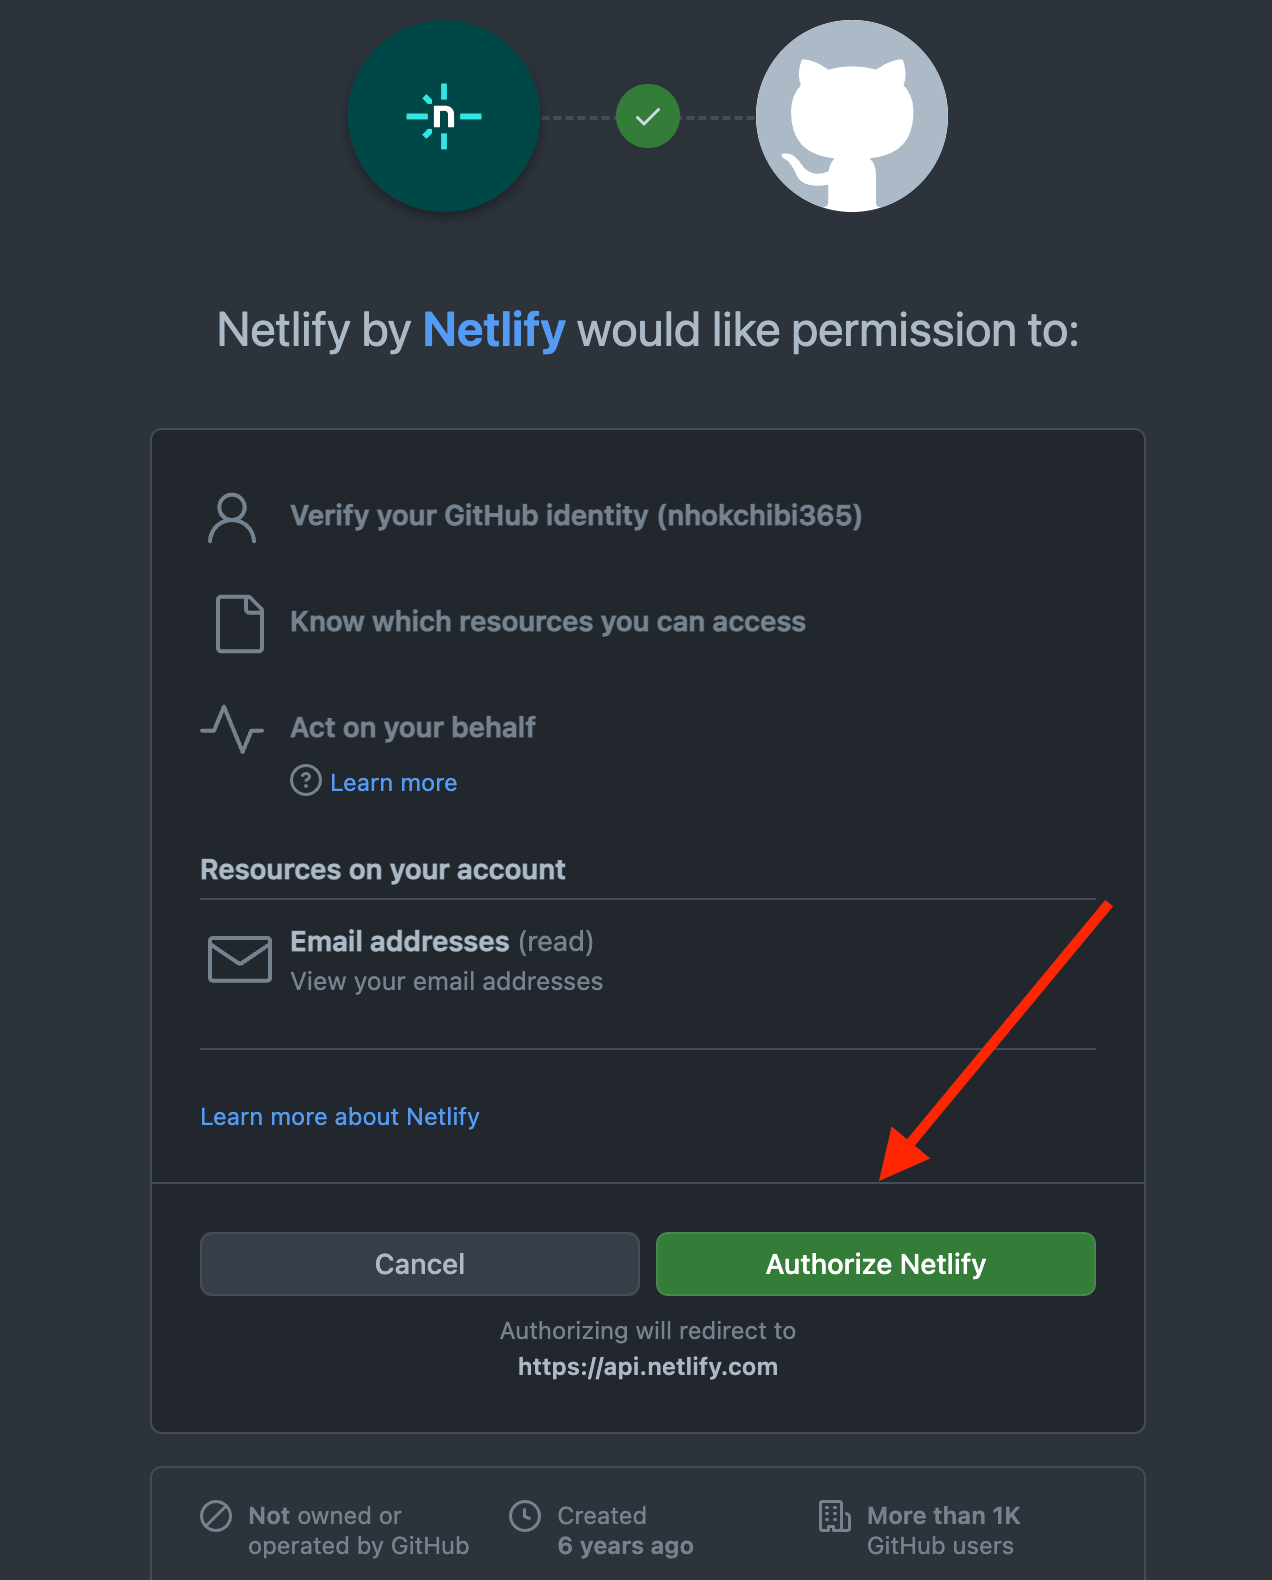
Go to Netlify, select Log in with GitHub, and click Authorize Netlify.
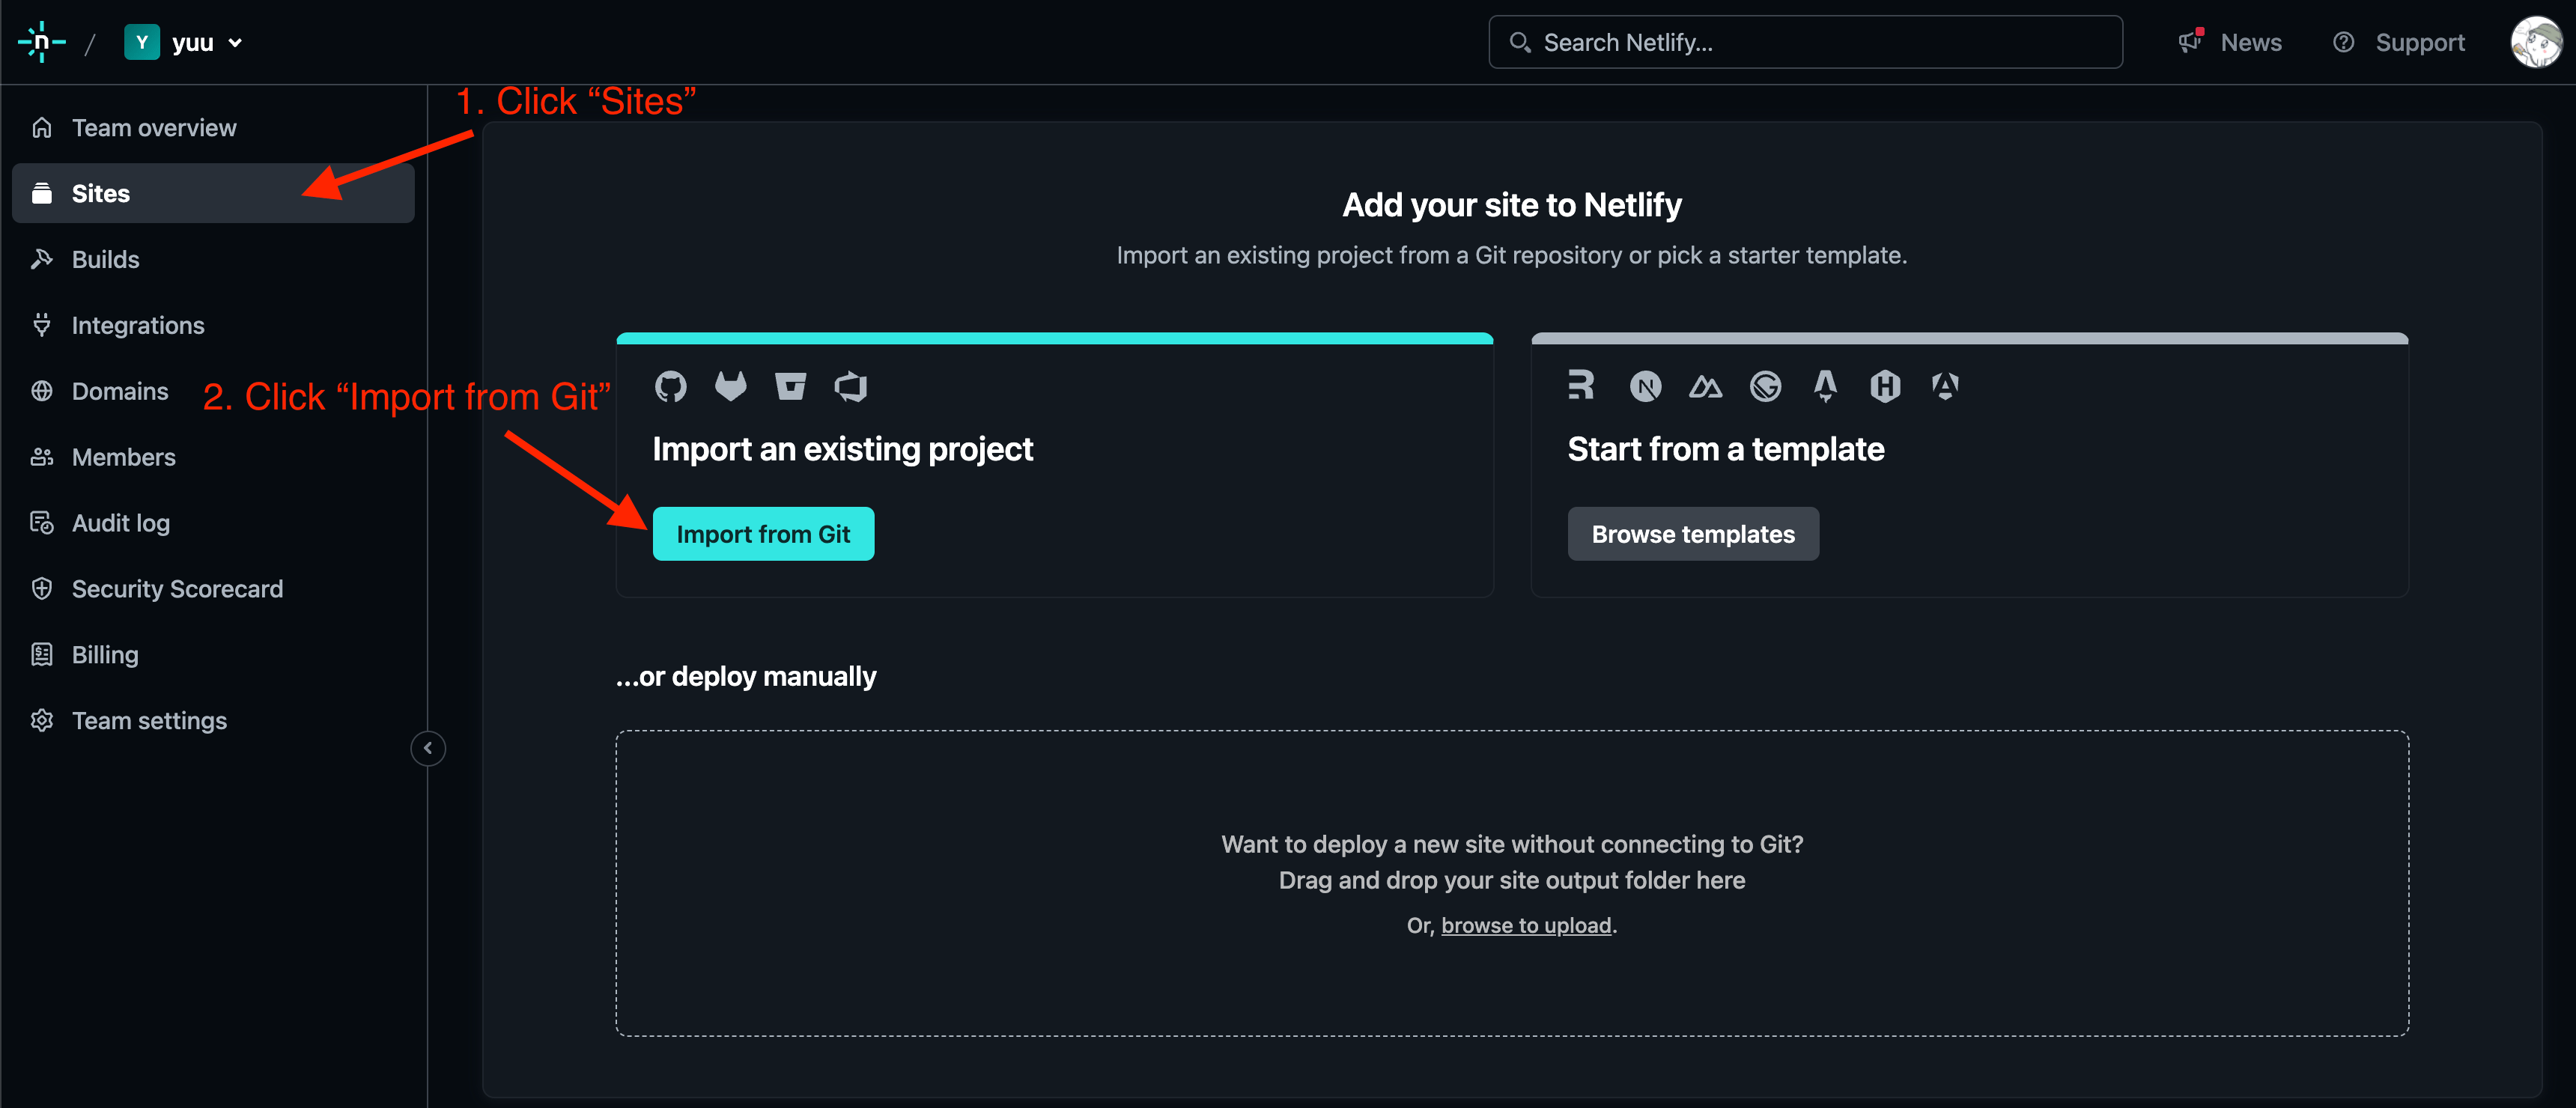
Step 2: Import Your Project
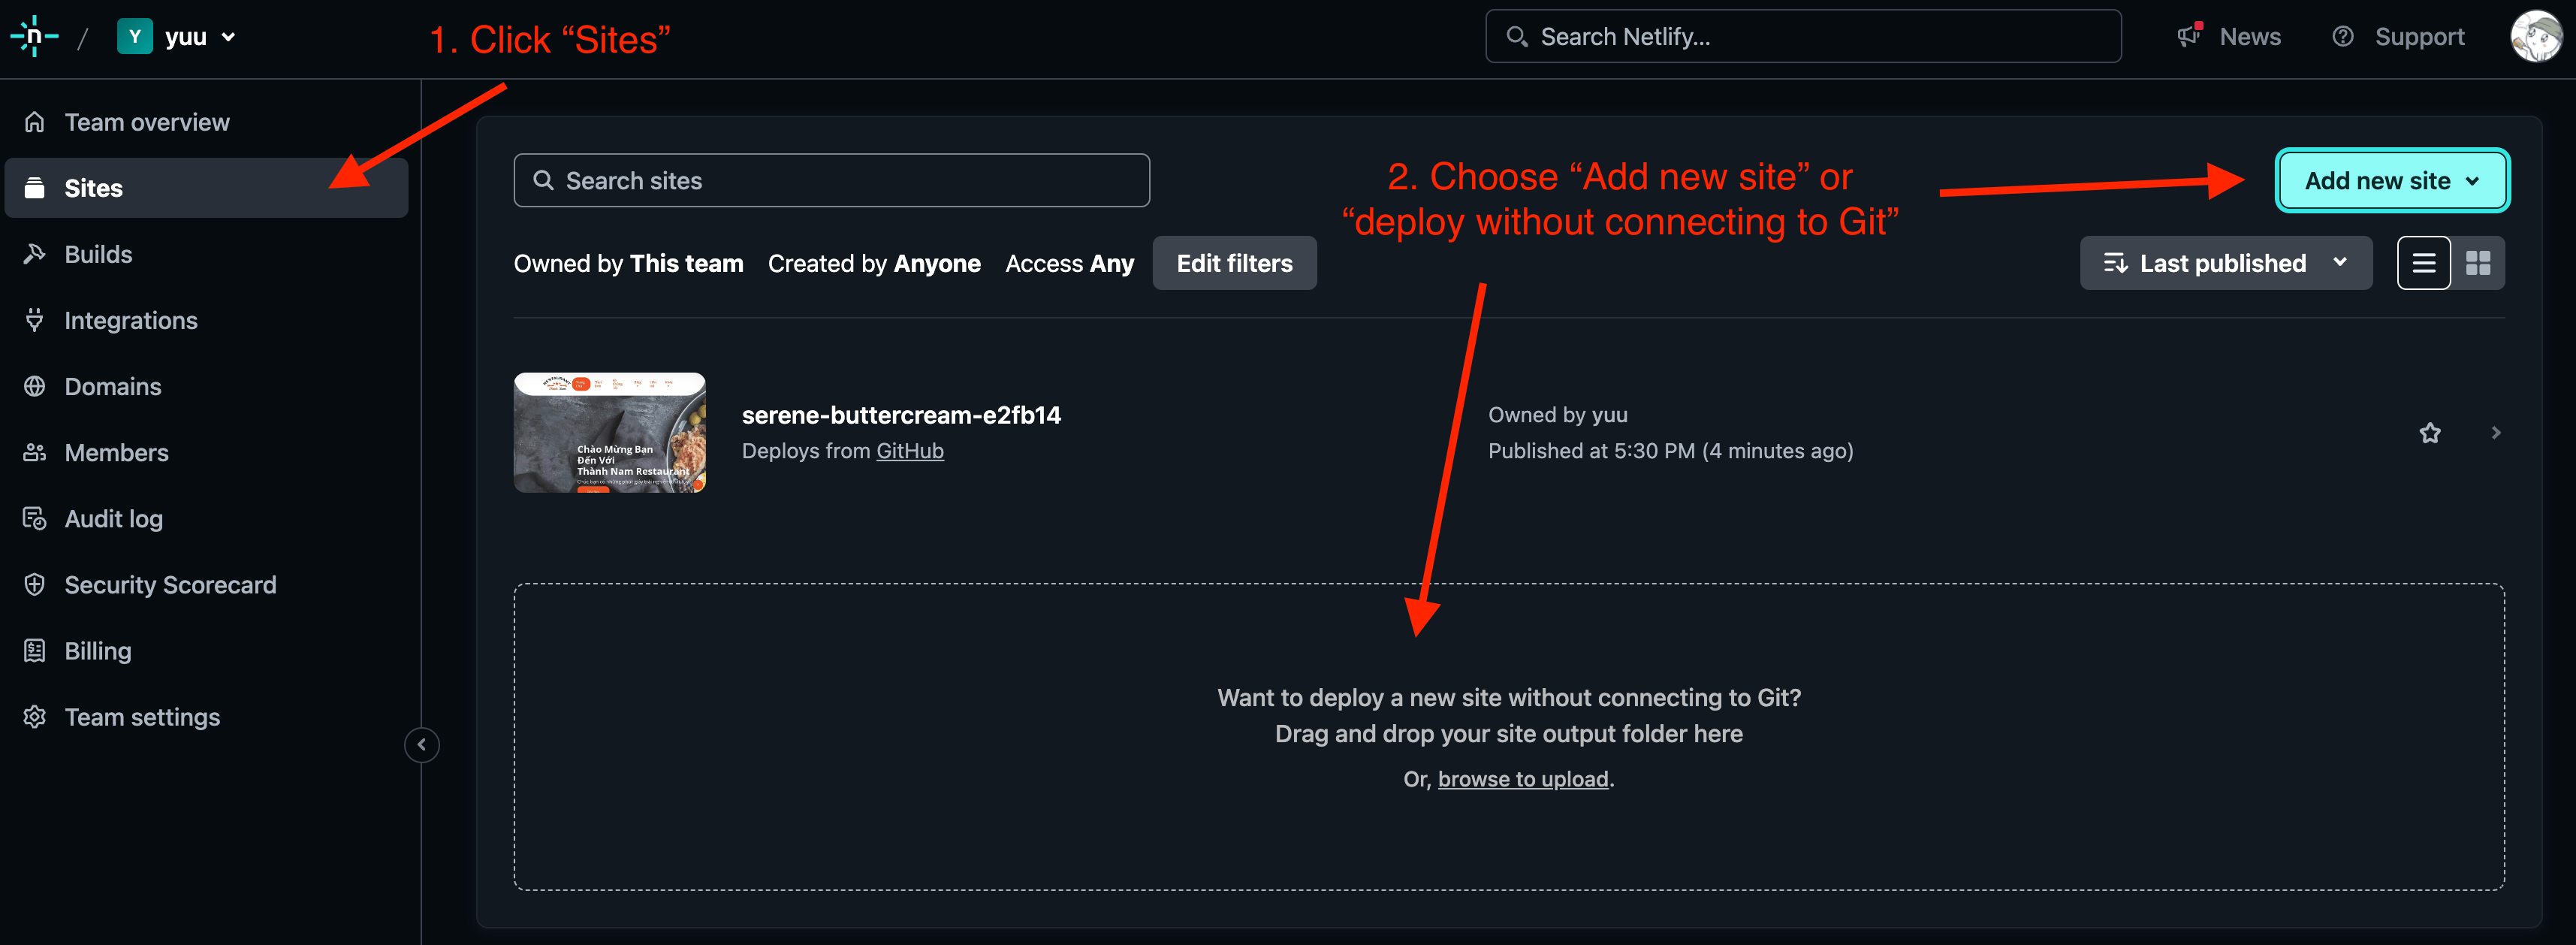
After signing in, open Sites and select Import from Git.
Step 3: Select Deploy Project
Click Deploy project to begin the setup process.
Step 4: Authorize Netlify
Complete the authorization process so Netlify can access your GitHub account.
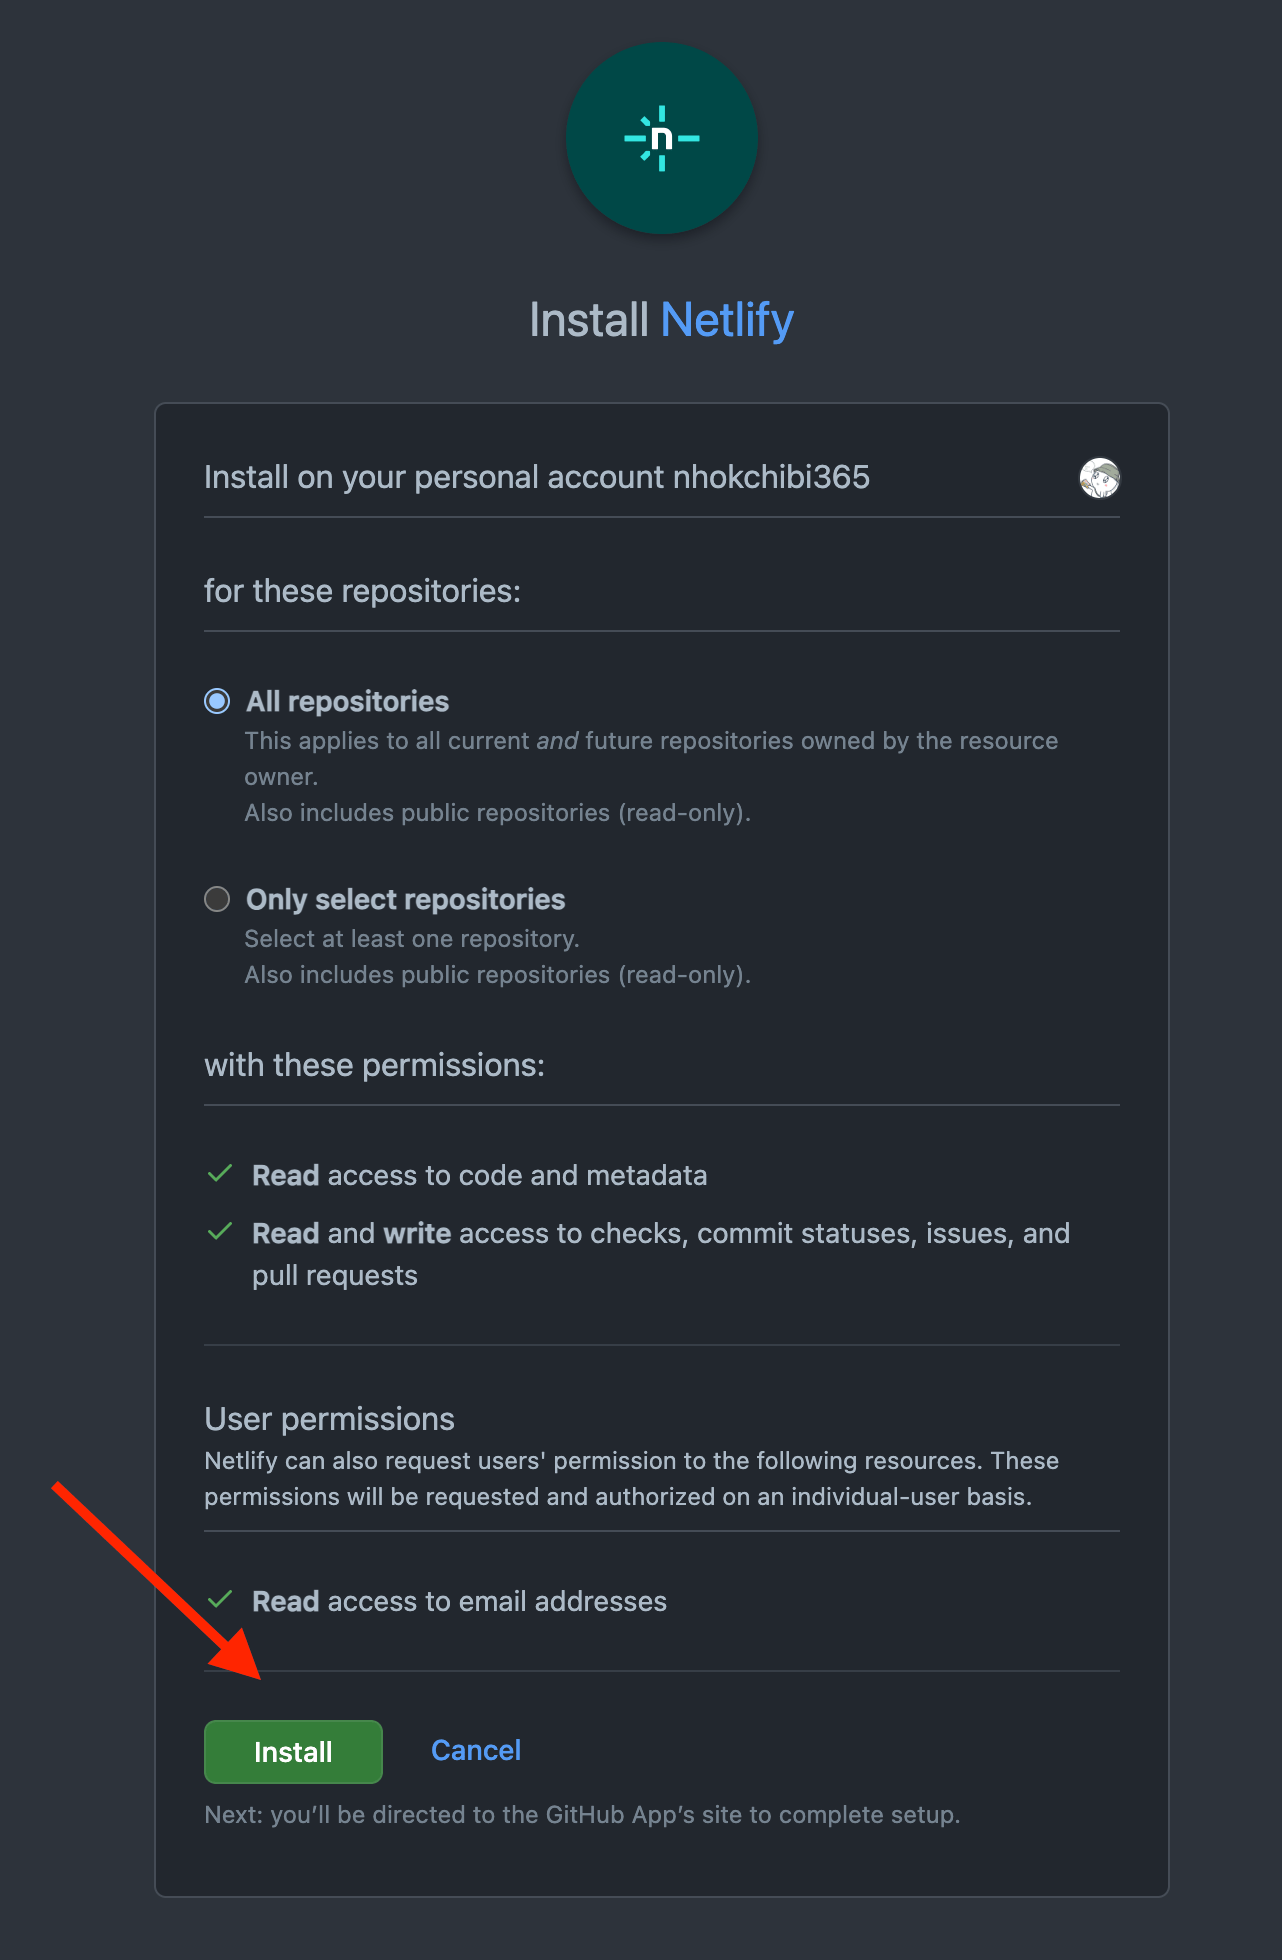
Step 5: Install the Netlify App on GitHub
Install the Netlify app on GitHub and choose which repositories it can access.
This allows Netlify to find and deploy your projects in the future.
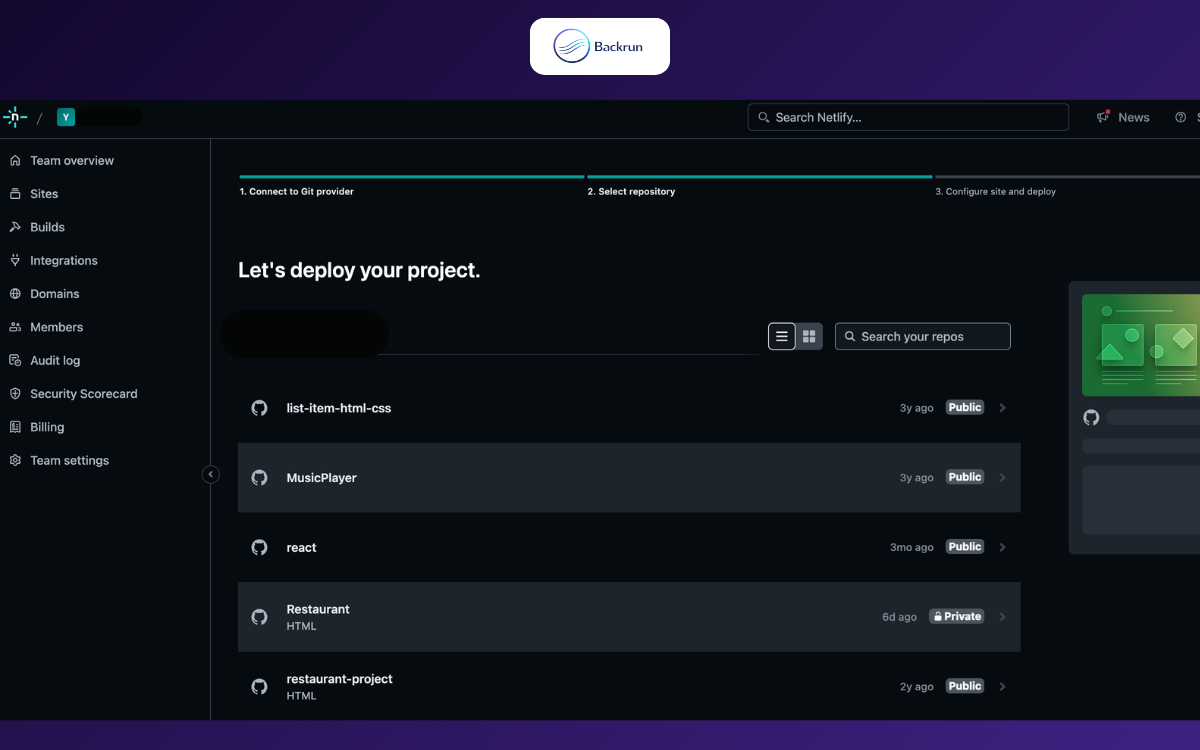
Step 6: Select Your Repository
After the connection is complete, your available GitHub repositories will appear in Netlify.
Select the project you want to deploy.
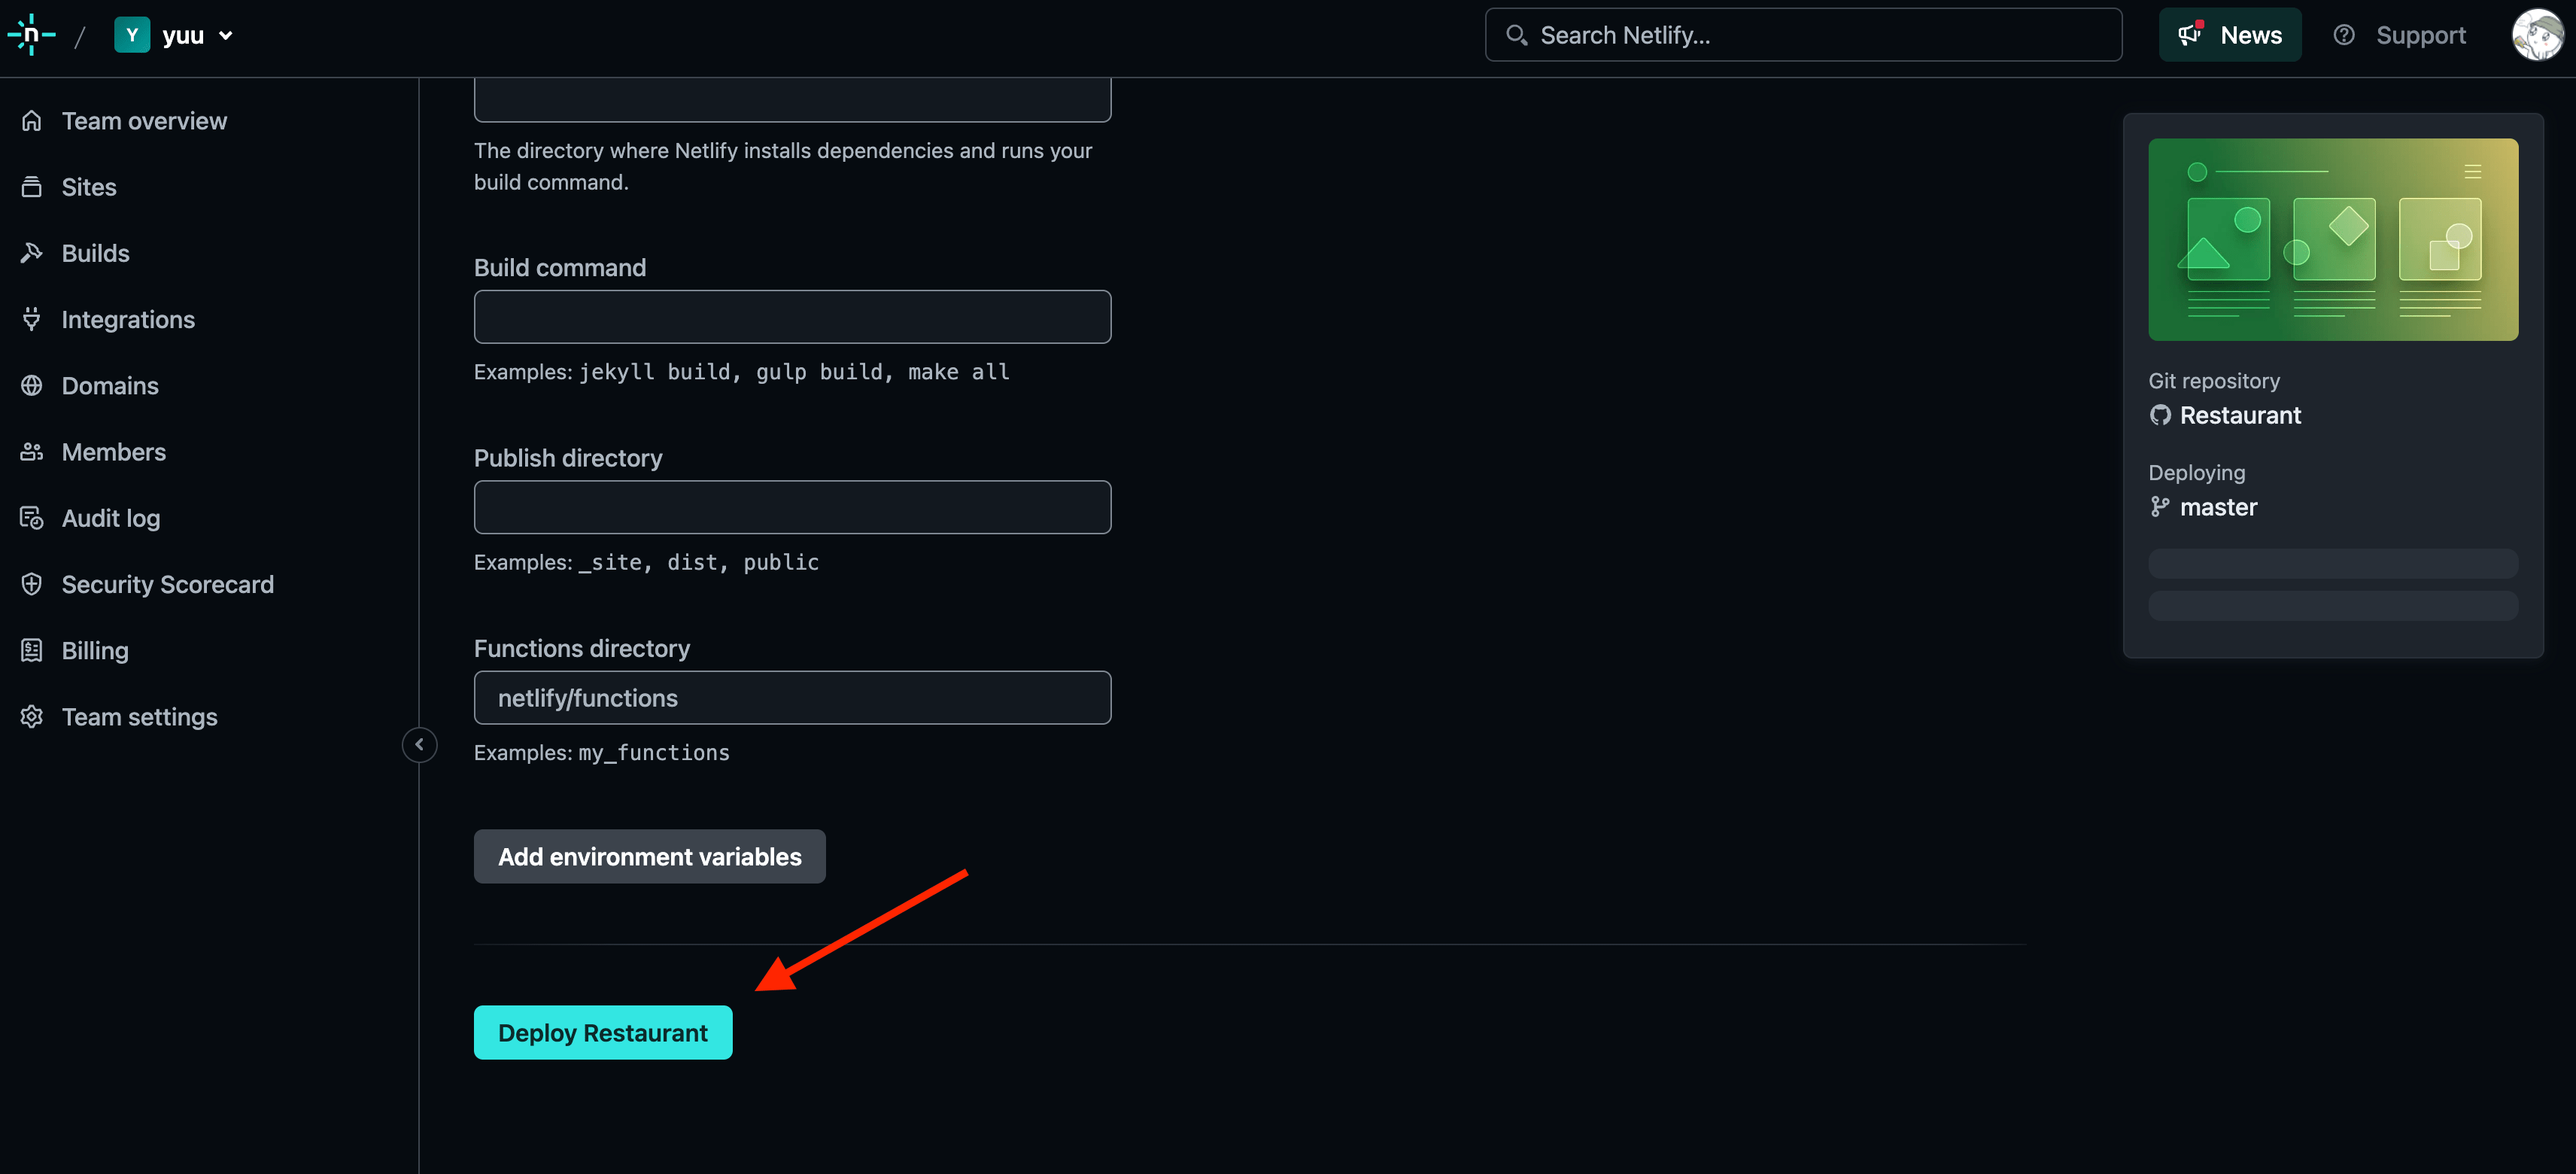
Step 7: Configure and Deploy the Project
Configure the project settings, including the branch, build command, and publish directory if required.
When everything is ready, click Deploy followed by your project name.
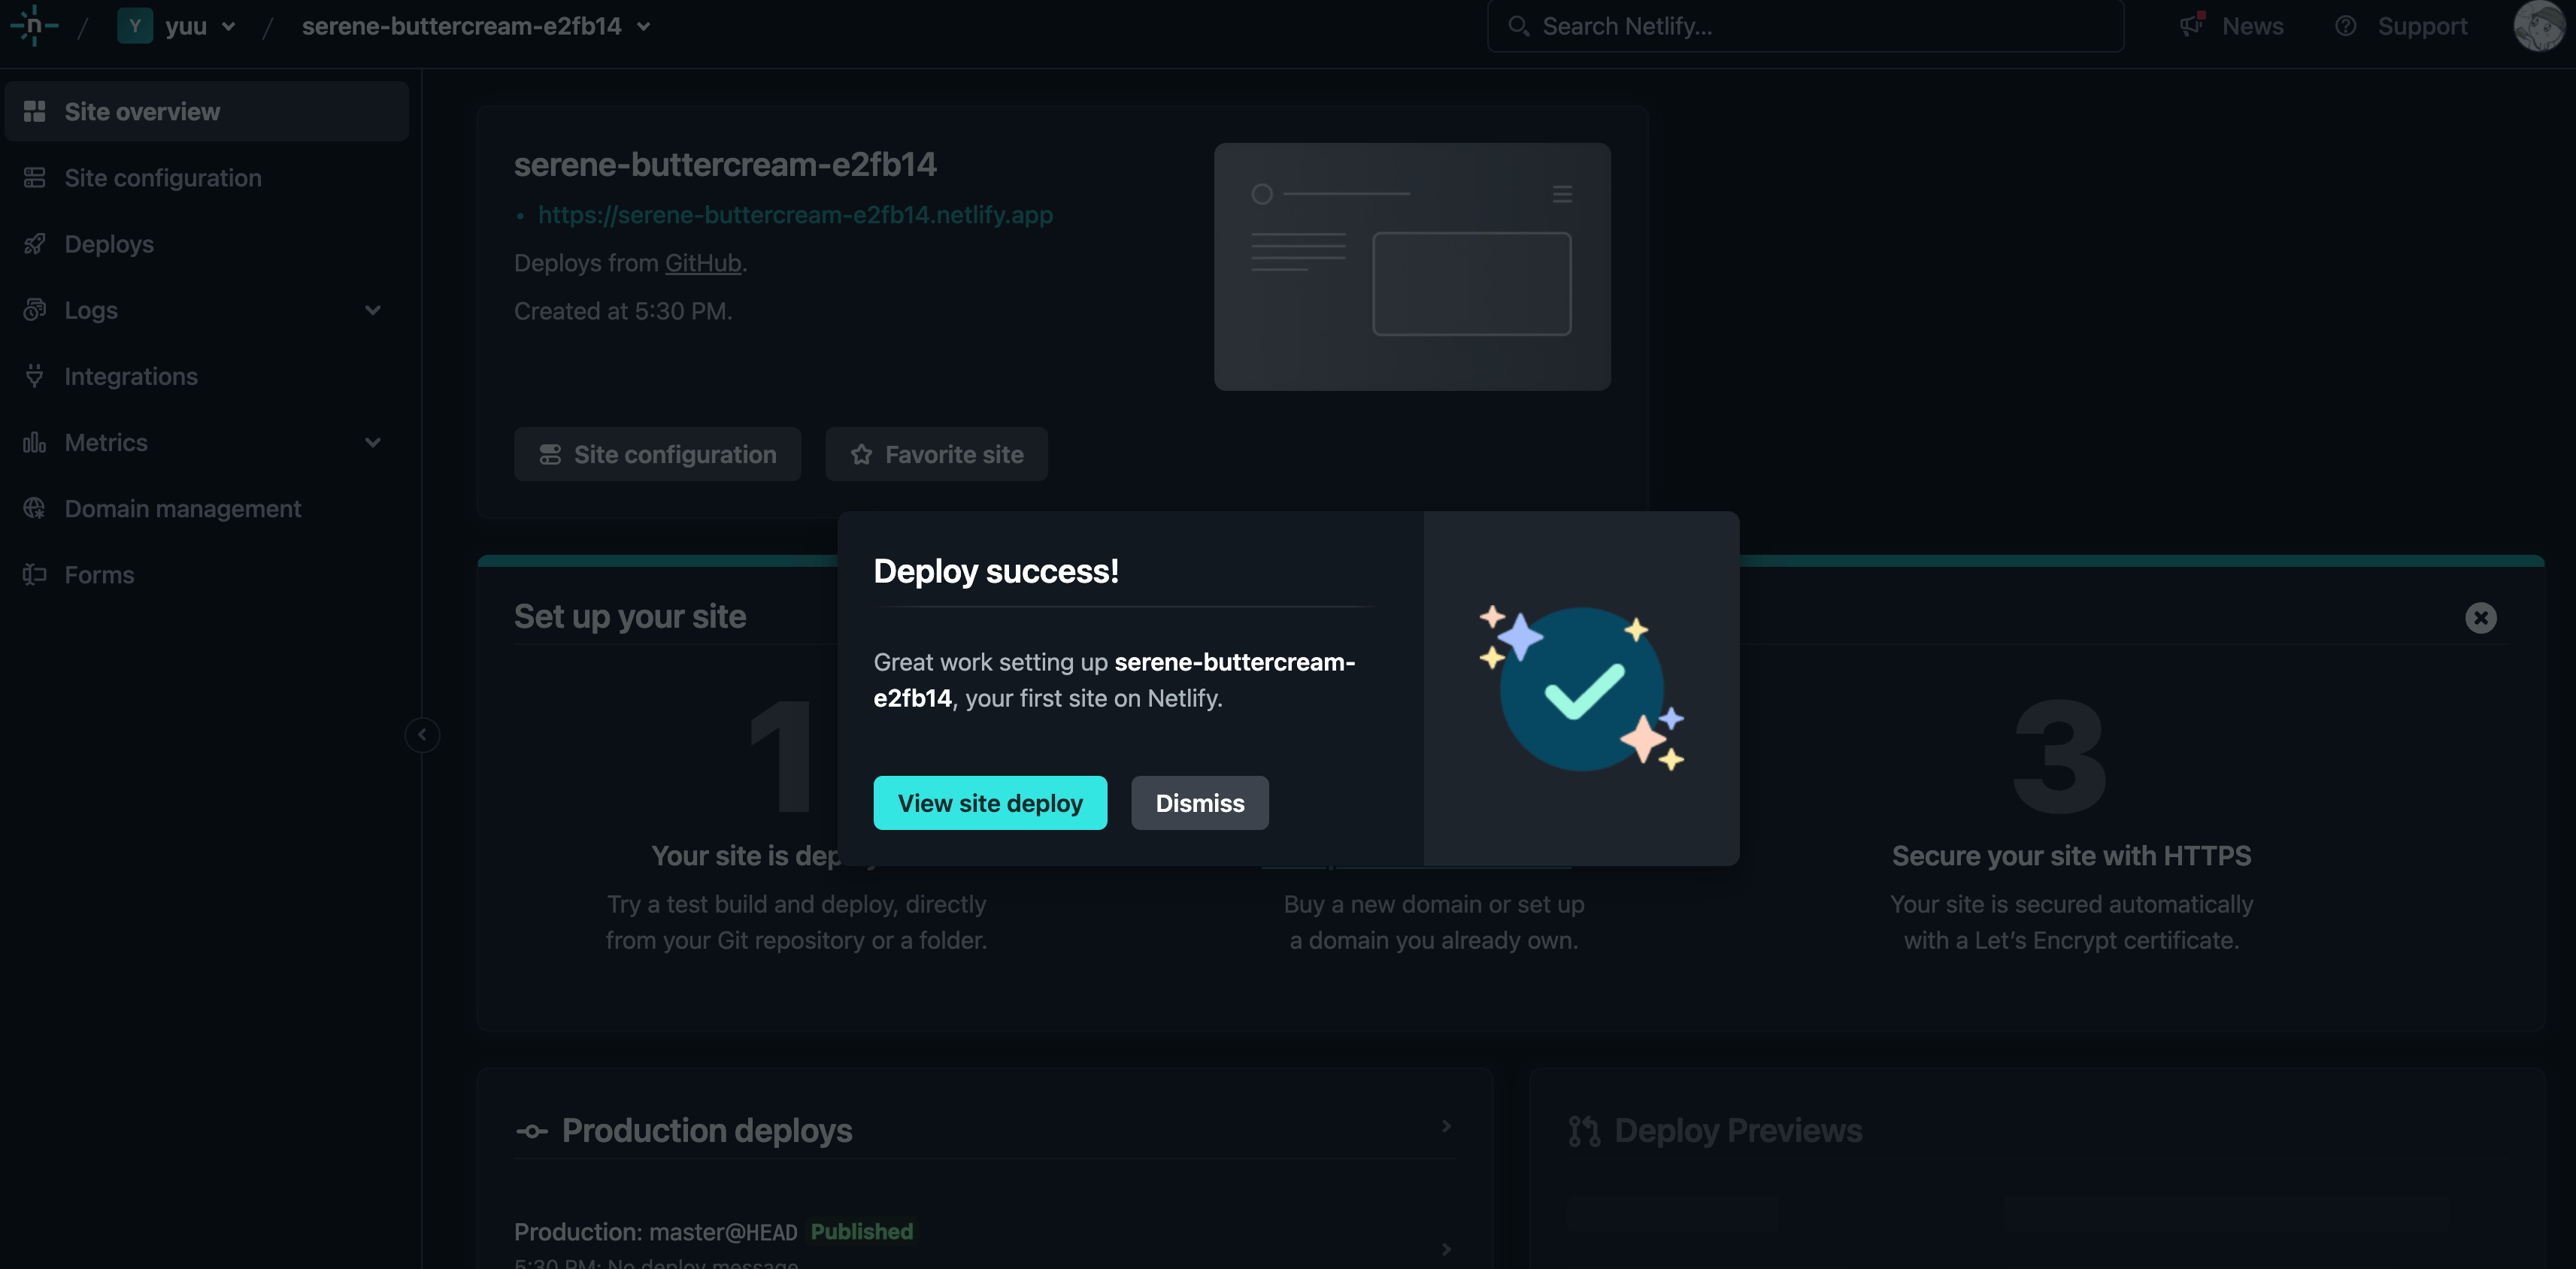
Wait for Netlify to complete the deployment.
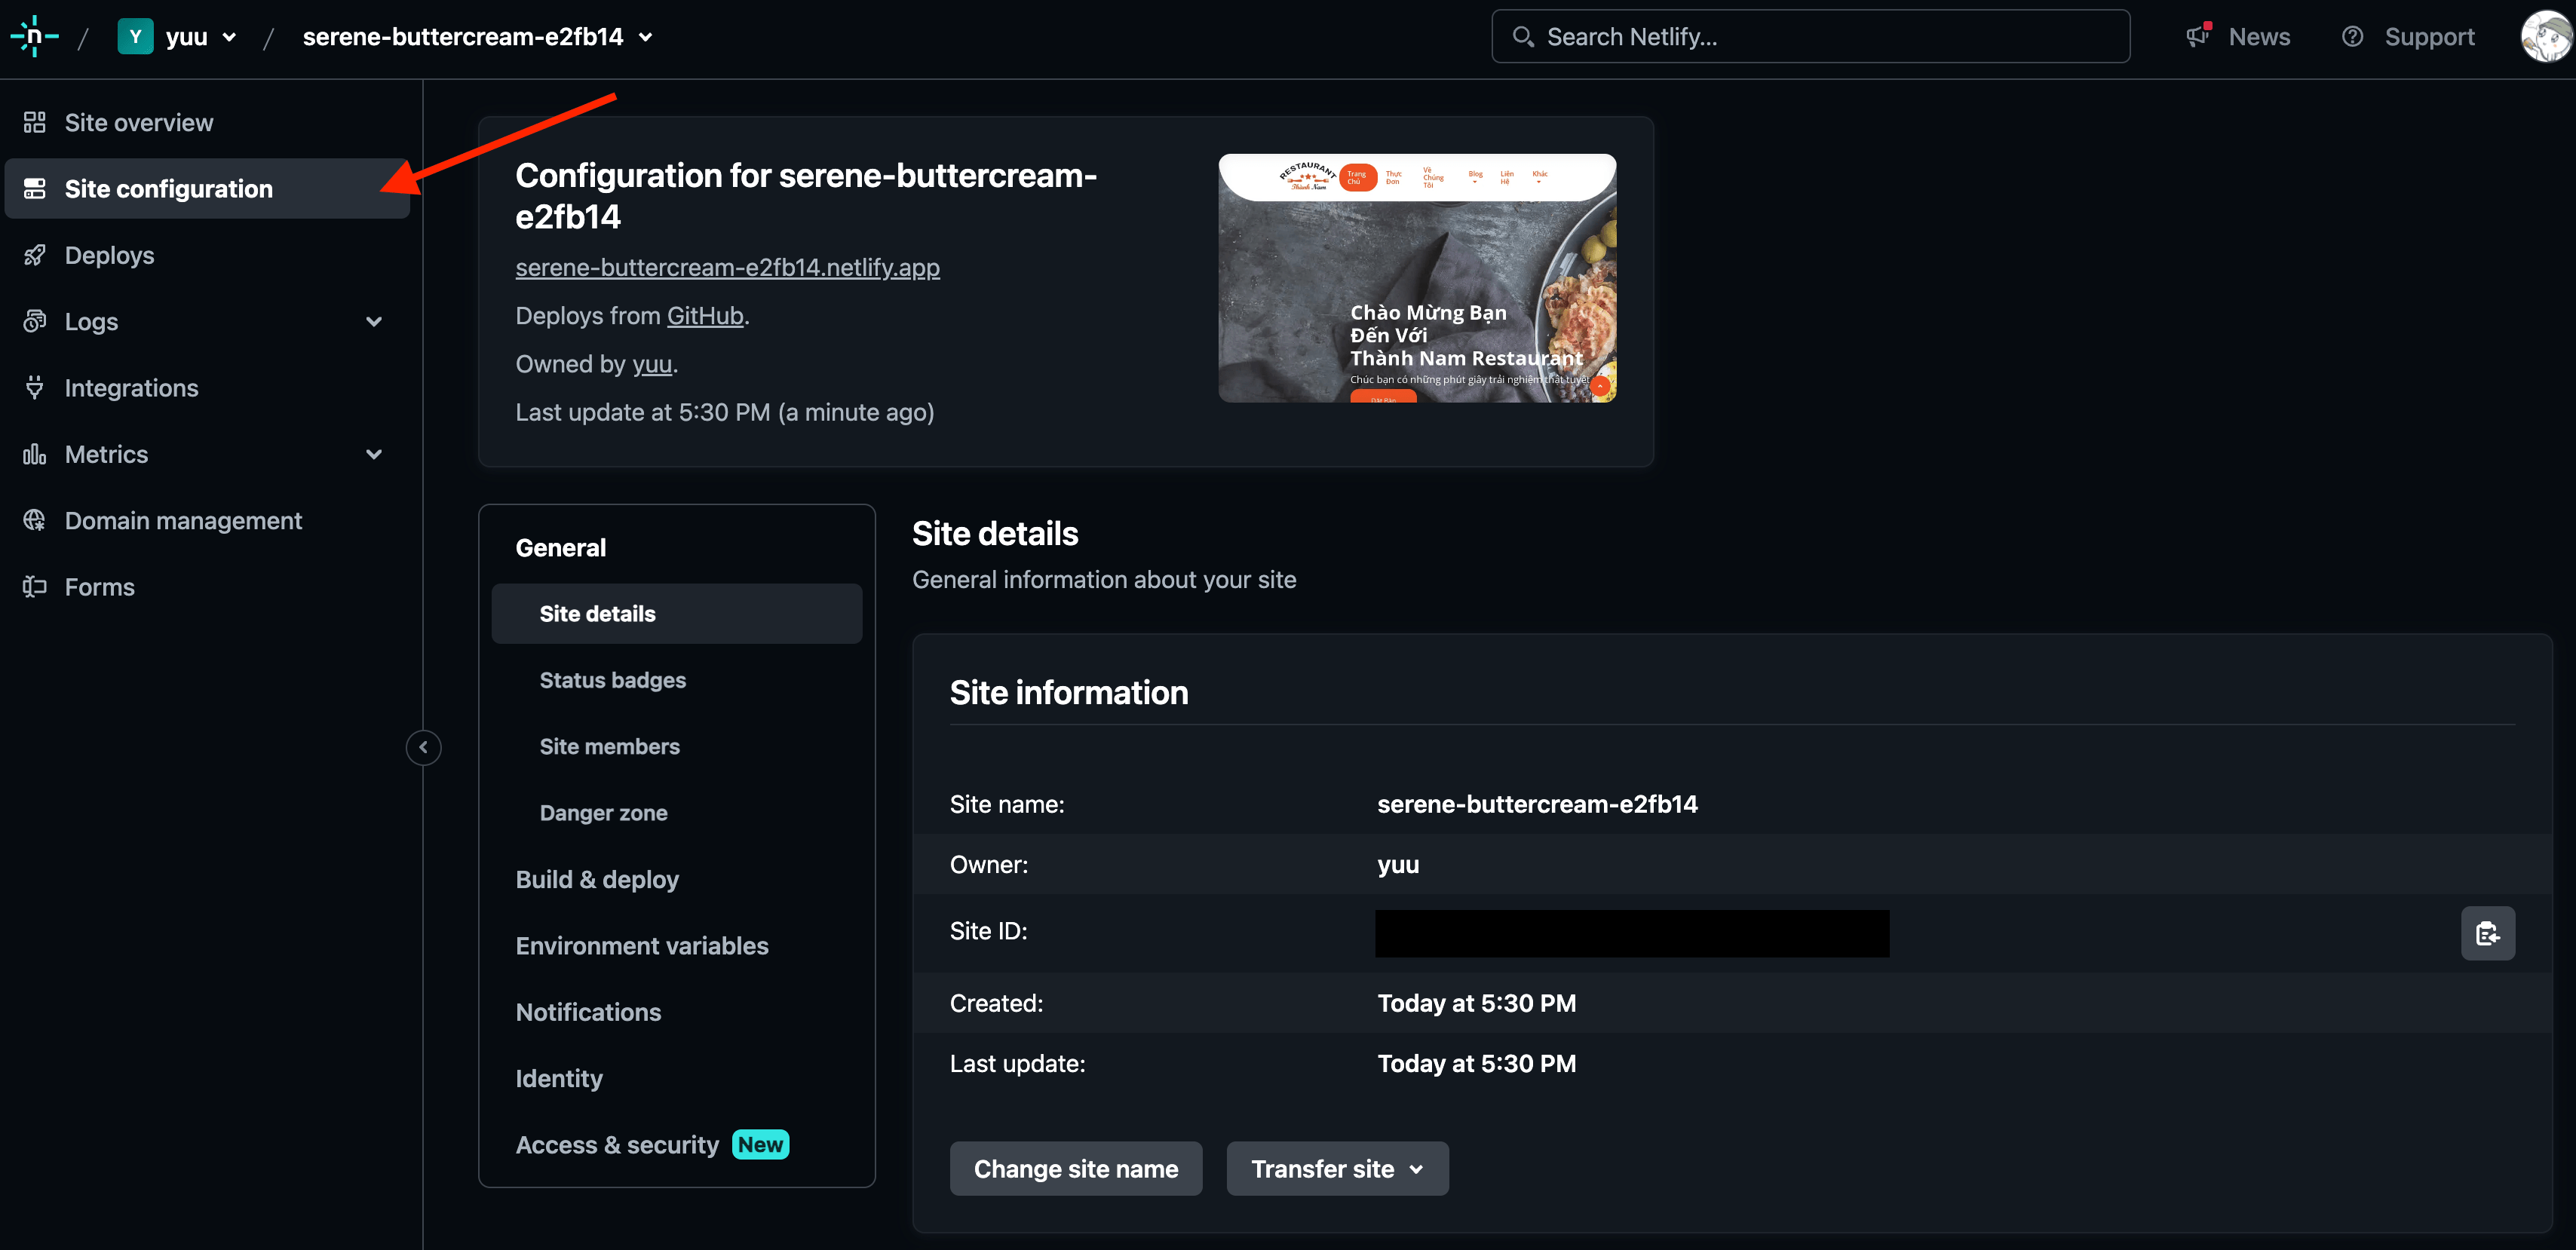
After the project is live, you can configure the domain, deployment settings, and other website options.
If you already have a Netlify account, log in and select Sites to import your project.
Wait a moment for Netlify to complete the deployment, and you’re done.
Deploy AI-Generated HTML to Netlify
If you created a simple HTML page with ChatGPT, Claude, or Gemini, you may not need to create a GitHub repository first.
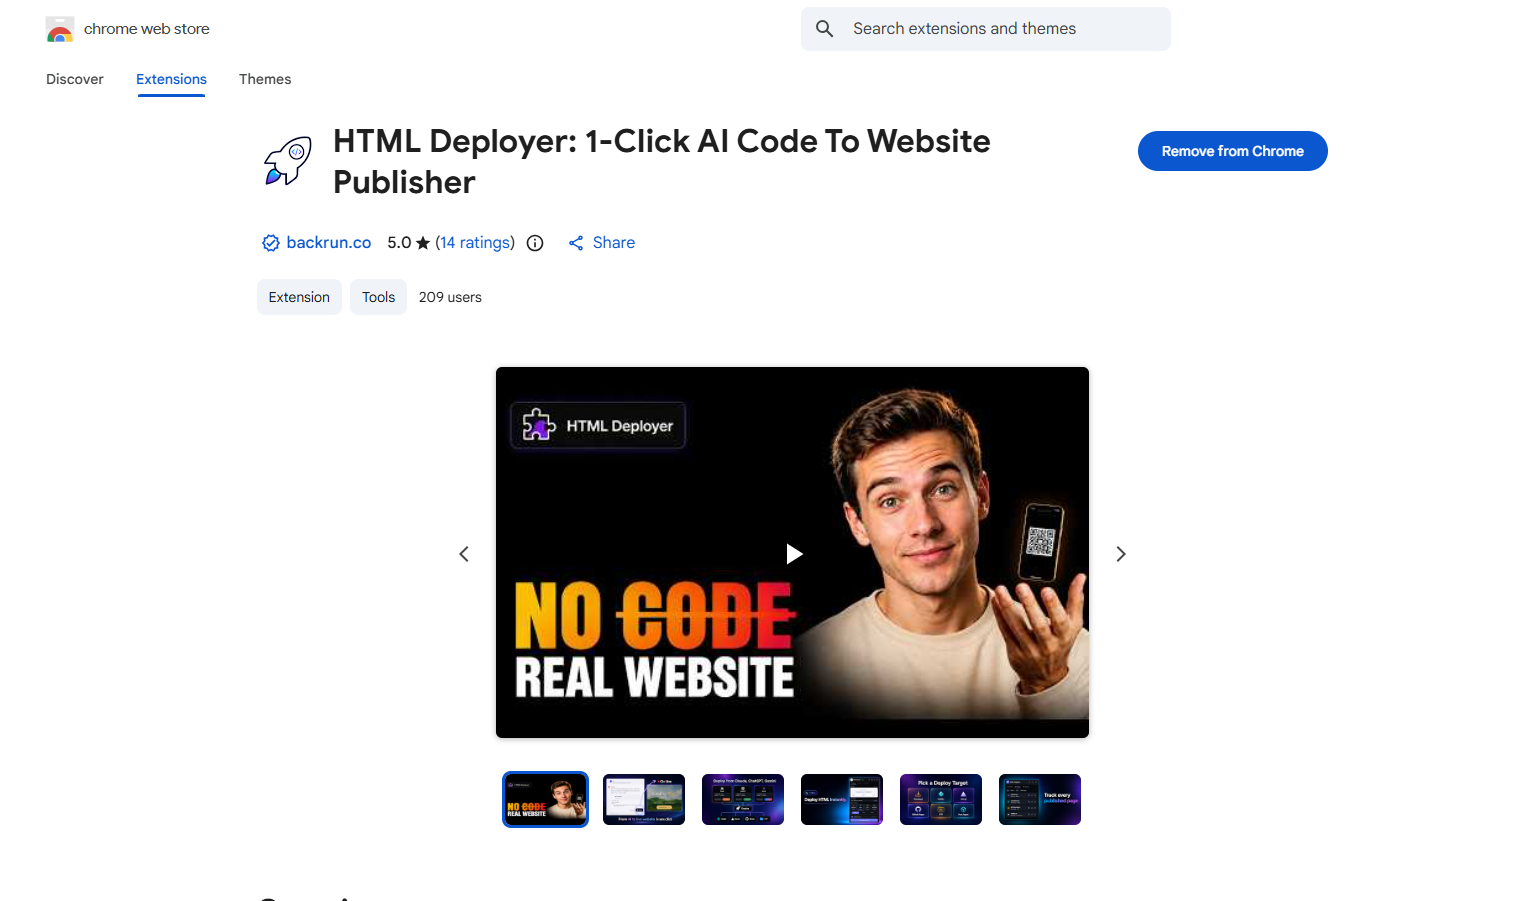
HTML Deployer is a free Chrome extension that can detect AI-generated HTML, preview the page, and publish it directly to Netlify.
The process is simple:
Generate an HTML page with ChatGPT, Claude, or Gemini.
Click the HTML Deployer button next to the HTML code.
Preview the page on desktop, tablet, and mobile.
Select Netlify as the deployment target.
Deploy the page and open the live URL.
This option is useful for landing pages, prototypes, client previews, and small static websites that need to be published quickly.
For larger projects that require version control and regular updates, connecting GitHub to Netlify remains the better option.
Conclusion
Netlify is a modern and easy-to-use hosting platform. Its Git integration, automatic deployment, and flexible configuration make it a strong choice for deploying and managing web projects.
When learning how to deploy on Netlify, you can choose between two workflows:
Connect GitHub to Netlify for structured projects and automatic updates.
Use HTML Deployer to publish AI-generated HTML to Netlify with fewer manual steps.
You can also explore other deployment platforms through the following guides: