Do you want to publish your project online but are unsure where to begin? This guide explains how to deploy on Vercel by connecting a GitHub repository, configuring your project, and publishing your website.
You will also learn how to deploy a website on Vercel with HTML Deployer when your HTML is generated by ChatGPT, Claude, or Gemini.
What Is Vercel?
Introduction
Vercel is a cloud platform designed to simplify the process of building, deploying, and managing web applications.
It provides developers with the tools and infrastructure needed to publish websites without spending too much time configuring servers or managing hosting systems.
Key Features of Vercel
Some of the main features of Vercel include:
Fast deployment: Vercel provides a simple deployment process that allows you to publish a website in just a few steps.
GitHub integration: You can connect Vercel directly to a GitHub repository. Vercel can then create a new deployment whenever changes are pushed to the connected branch.
Support for popular frameworks: Vercel supports static websites and many popular frameworks, including Next.js, React, Angular, Vue, Astro, and others.
DNS and domain management: You can connect and manage a custom domain directly from the Vercel dashboard.
Global content delivery: Vercel uses a global network to deliver website content efficiently to users in different locations.
Functions and APIs: Vercel supports serverless functions and API routes, allowing you to build more dynamic web applications.
You can explore the Vercel documentation to learn more about its available features.
Vercel Hosting Plans
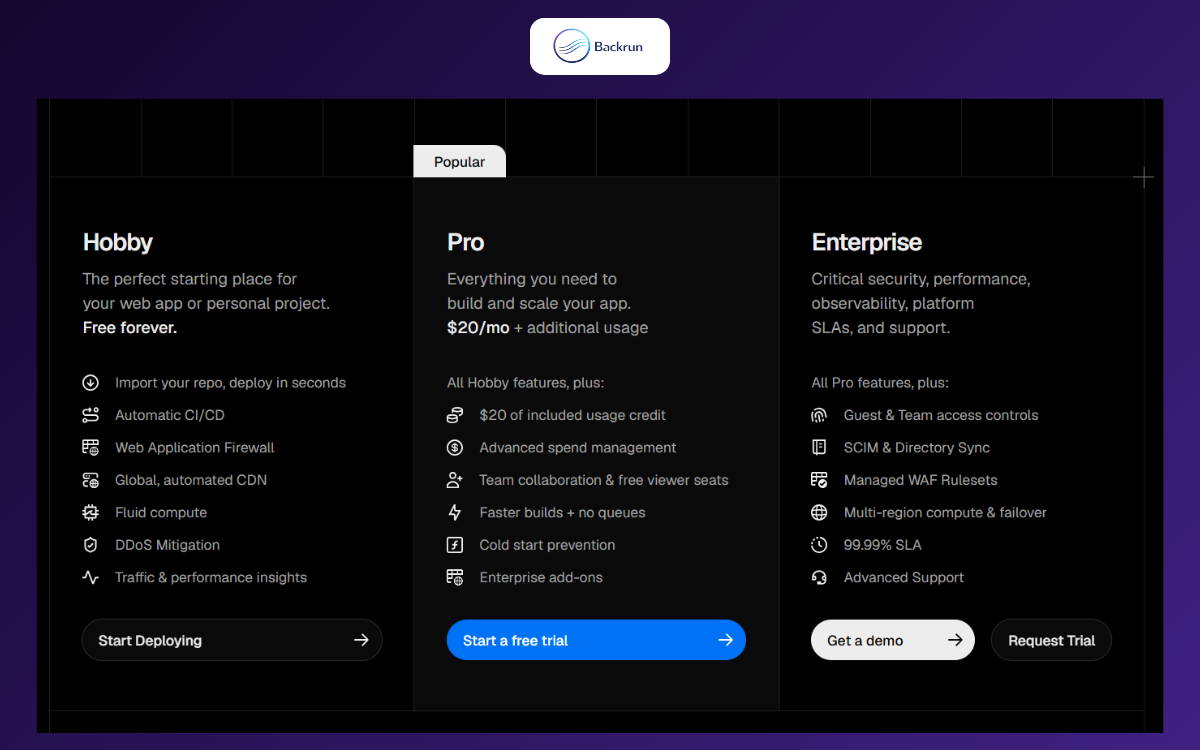
Vercel offers three main plans: Hobby, Pro, and Enterprise.
The Hobby plan is free and is generally suitable for personal projects, experiments, portfolios, and small applications. Pro and Enterprise plans provide additional resources, collaboration tools, and advanced features for professional teams.
Usage limits and included resources may change, so check the latest Vercel pricing information before choosing a plan for a production project.
How to Deploy on Vercel with GitHub
1. Prerequisites
Before you learn how to deploy to Vercel, make sure you have:
A GitHub account
A Vercel account
A GitHub repository containing your project
Your project uploaded to either a public or private repository
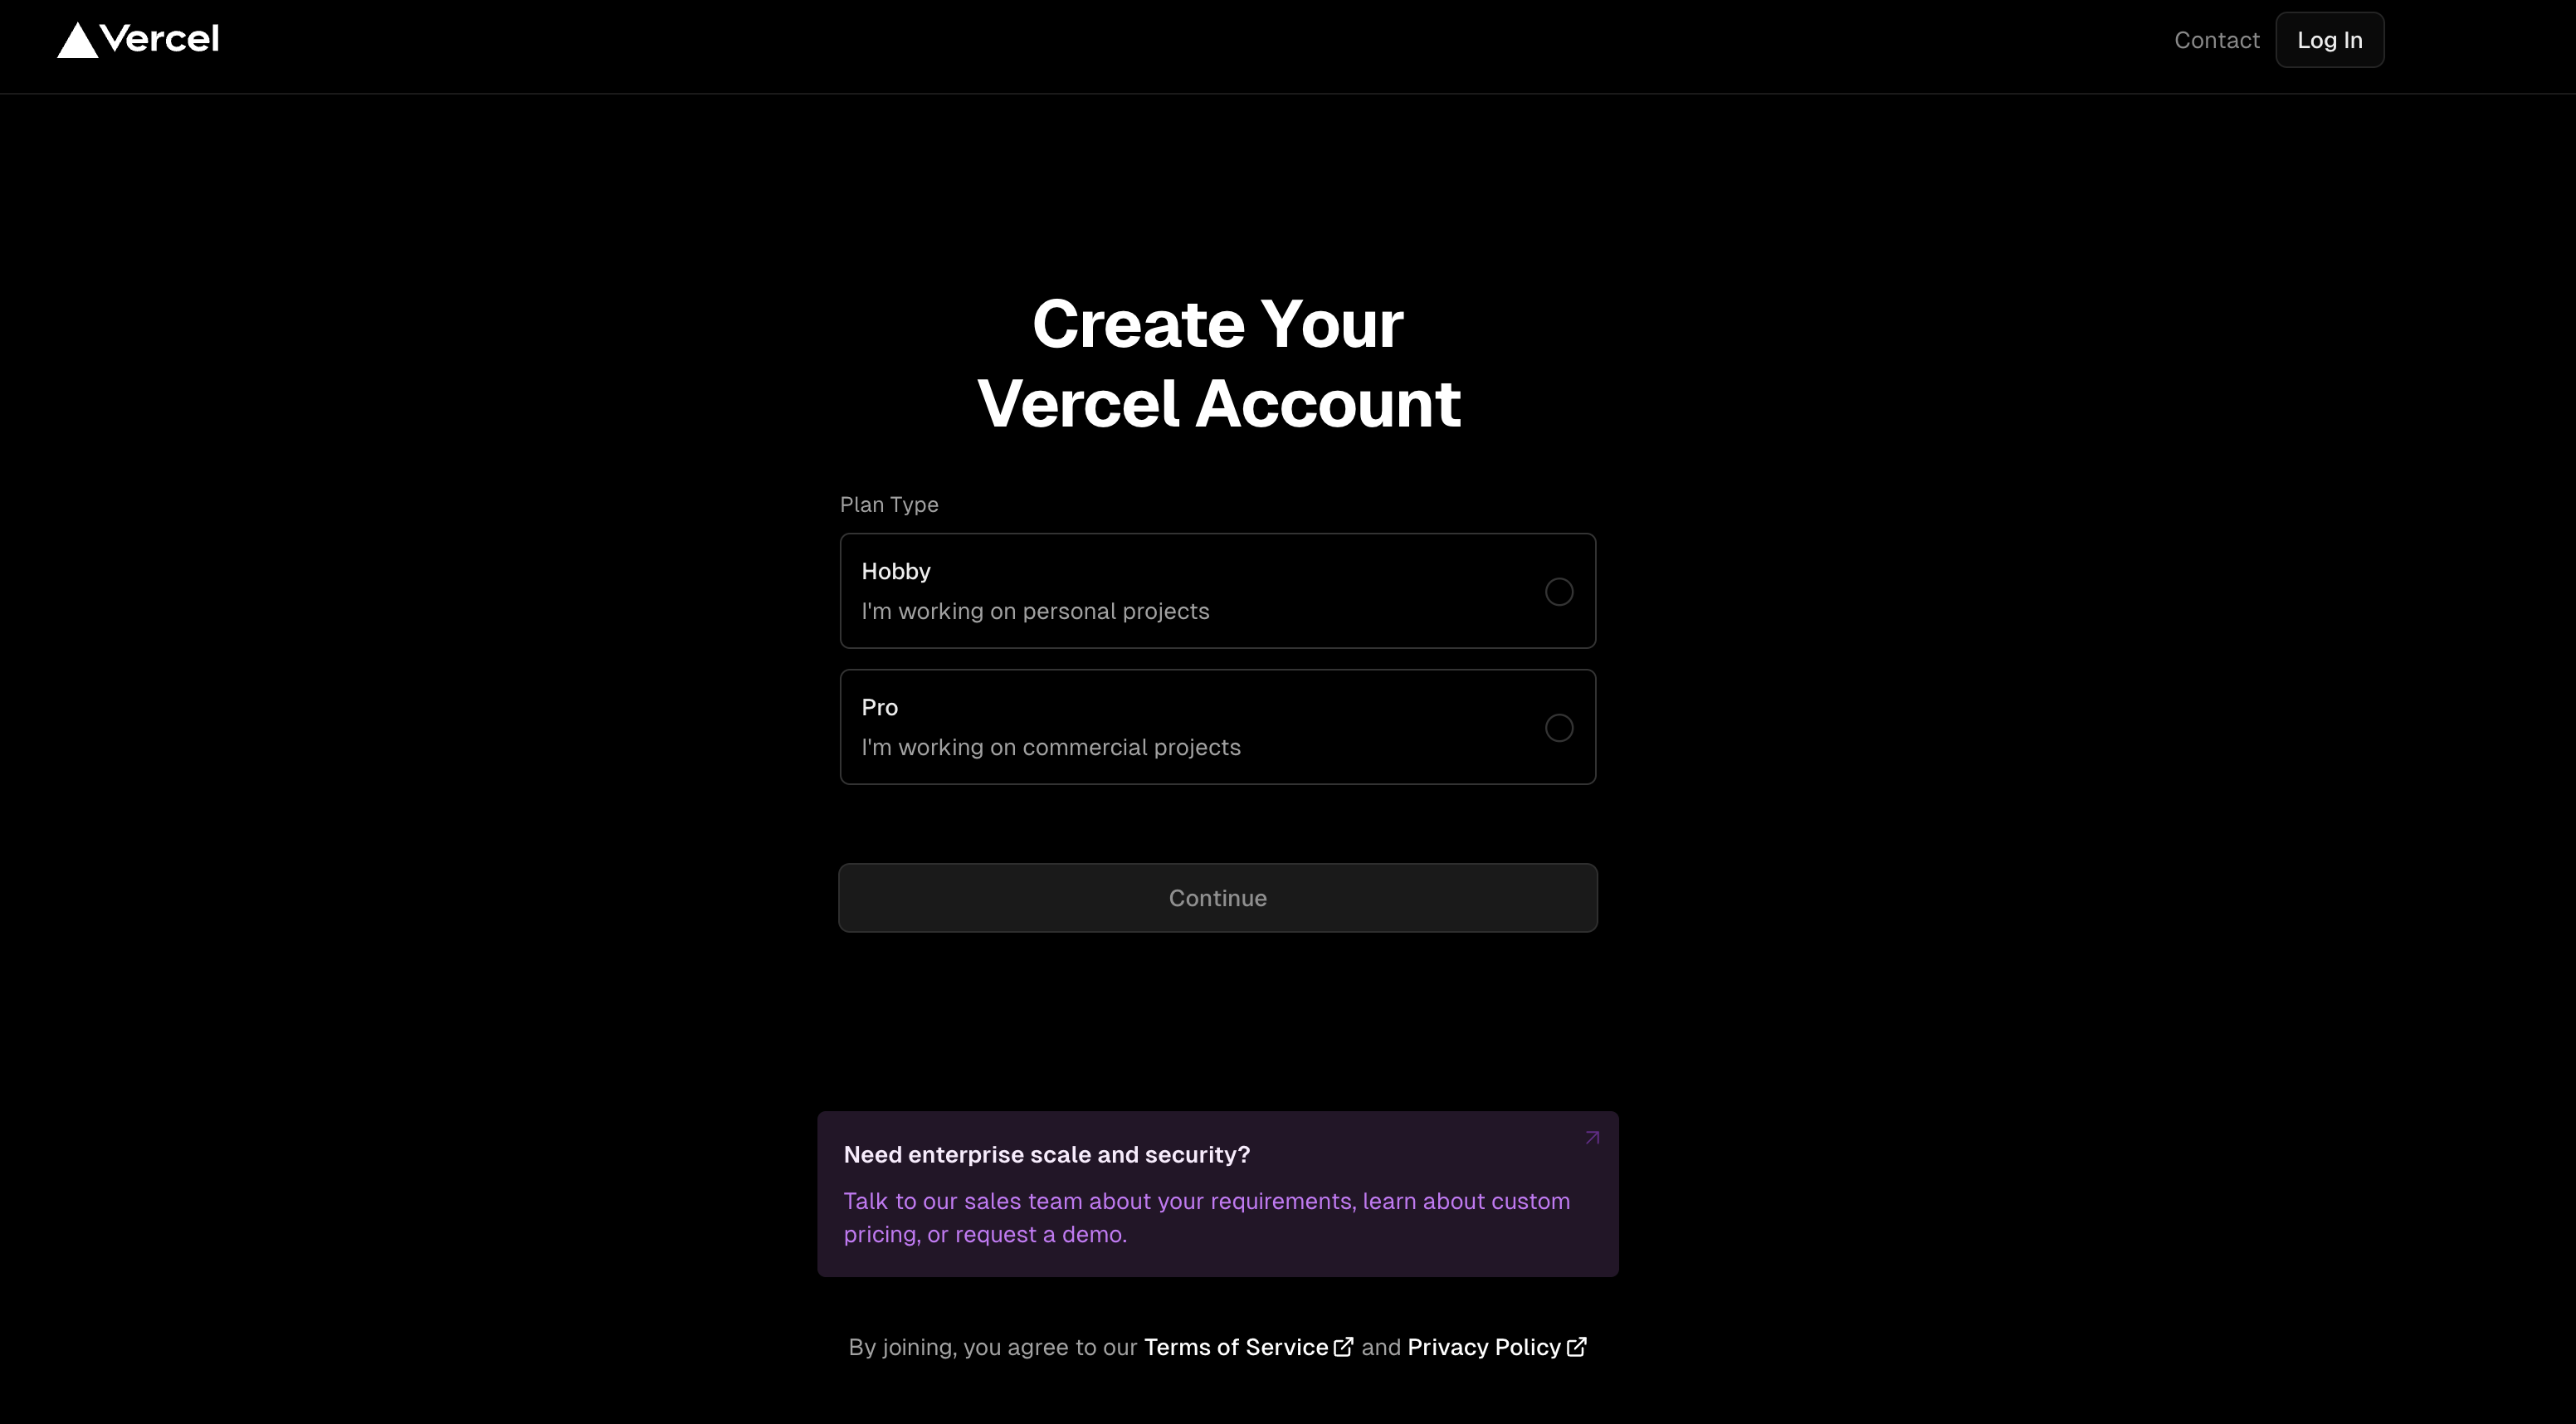
Choose the plan that matches your needs. For a personal or basic project, you can begin with the Hobby plan.
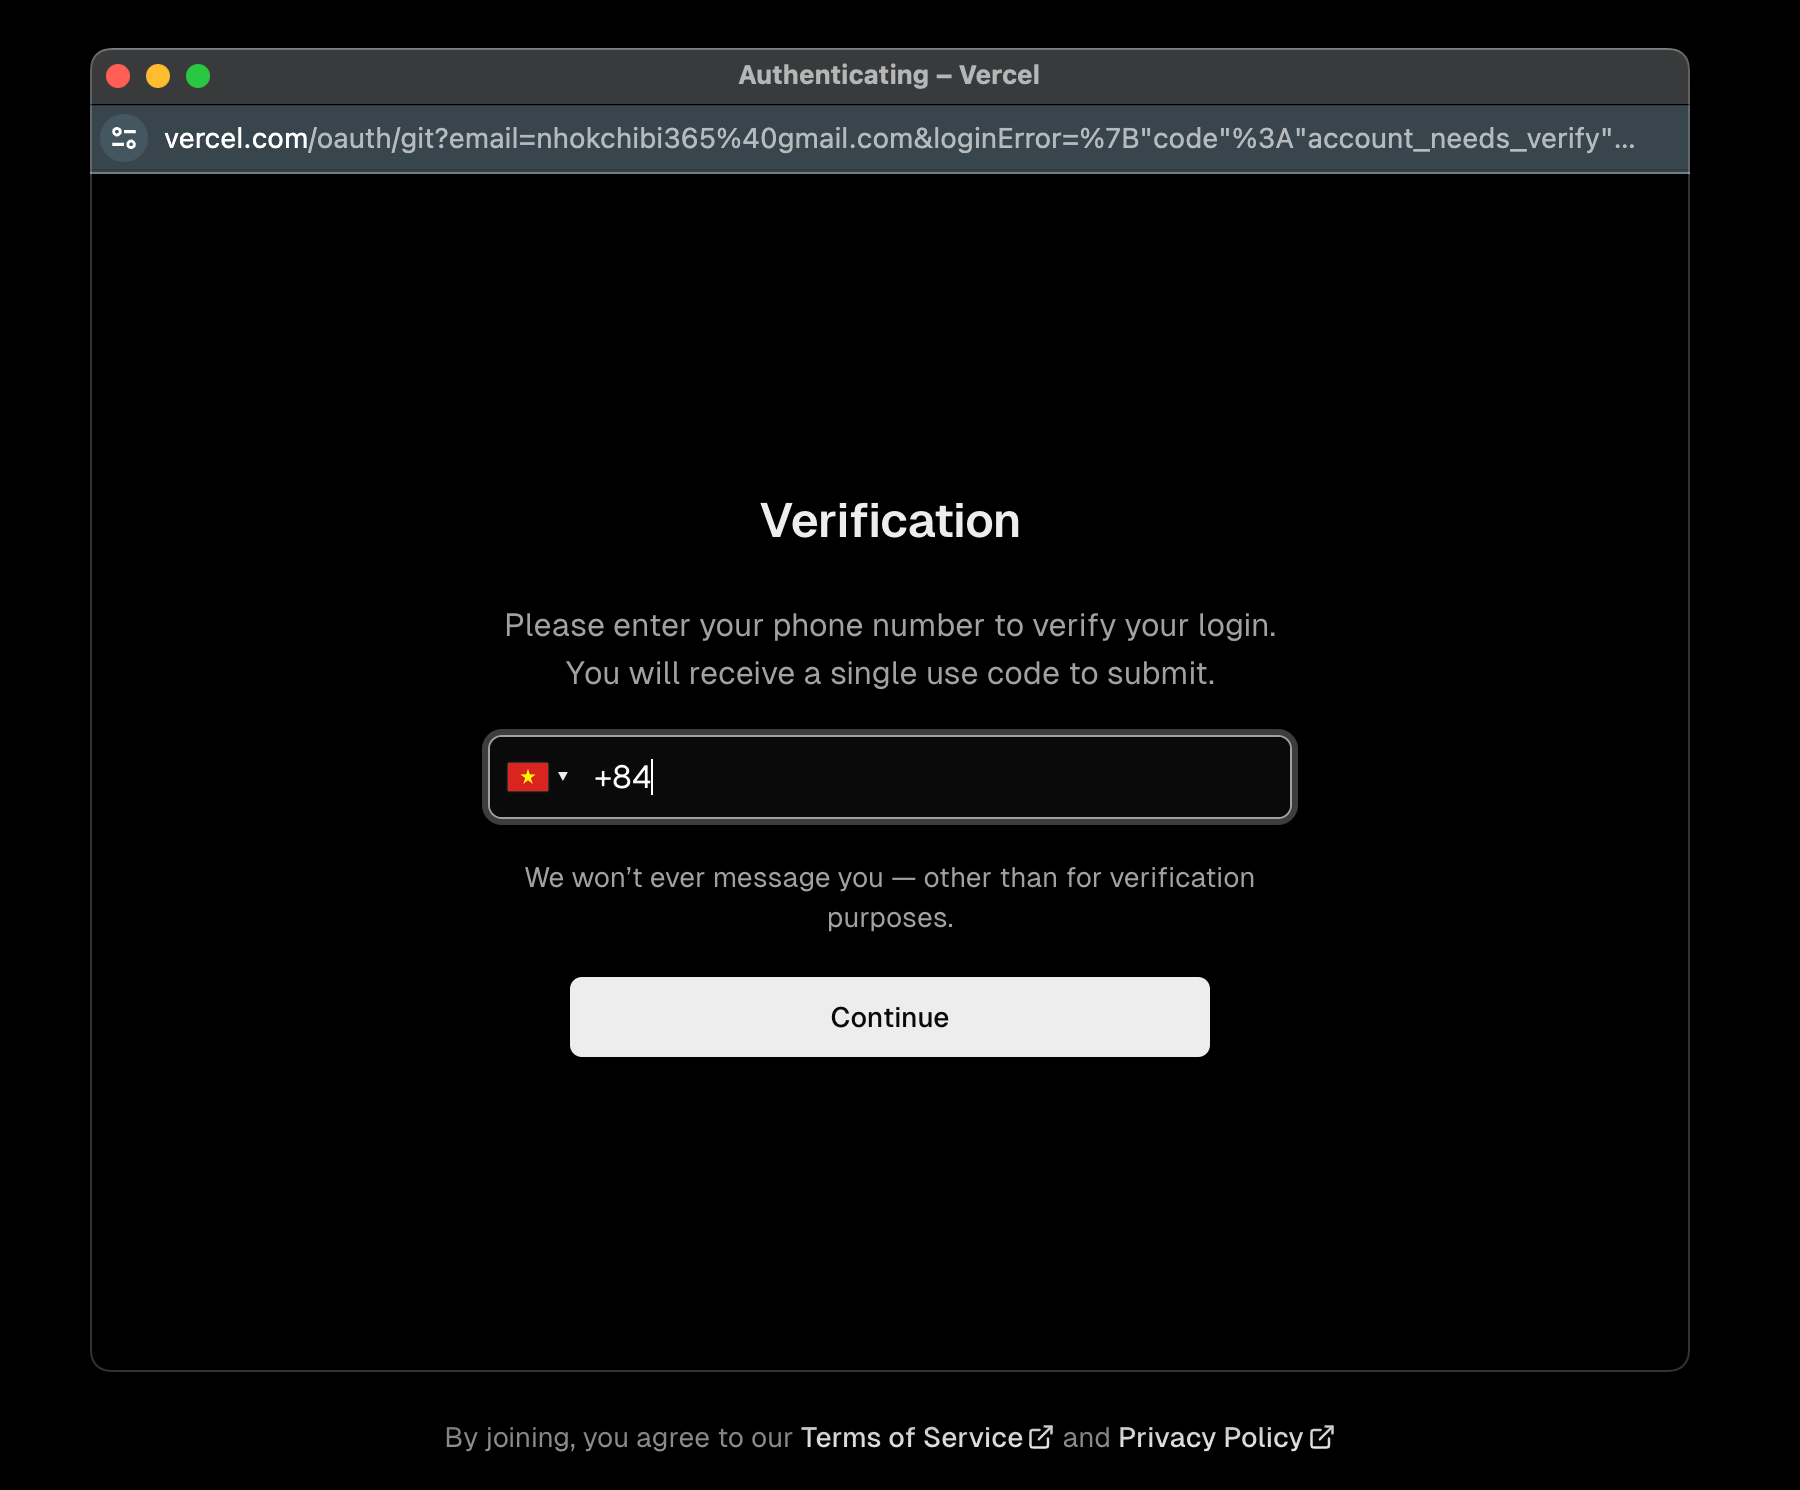
Step 2: Complete the Account Verification
Follow the instructions provided by Vercel to verify and activate your account.
The exact verification process may vary depending on the sign-up method you choose.
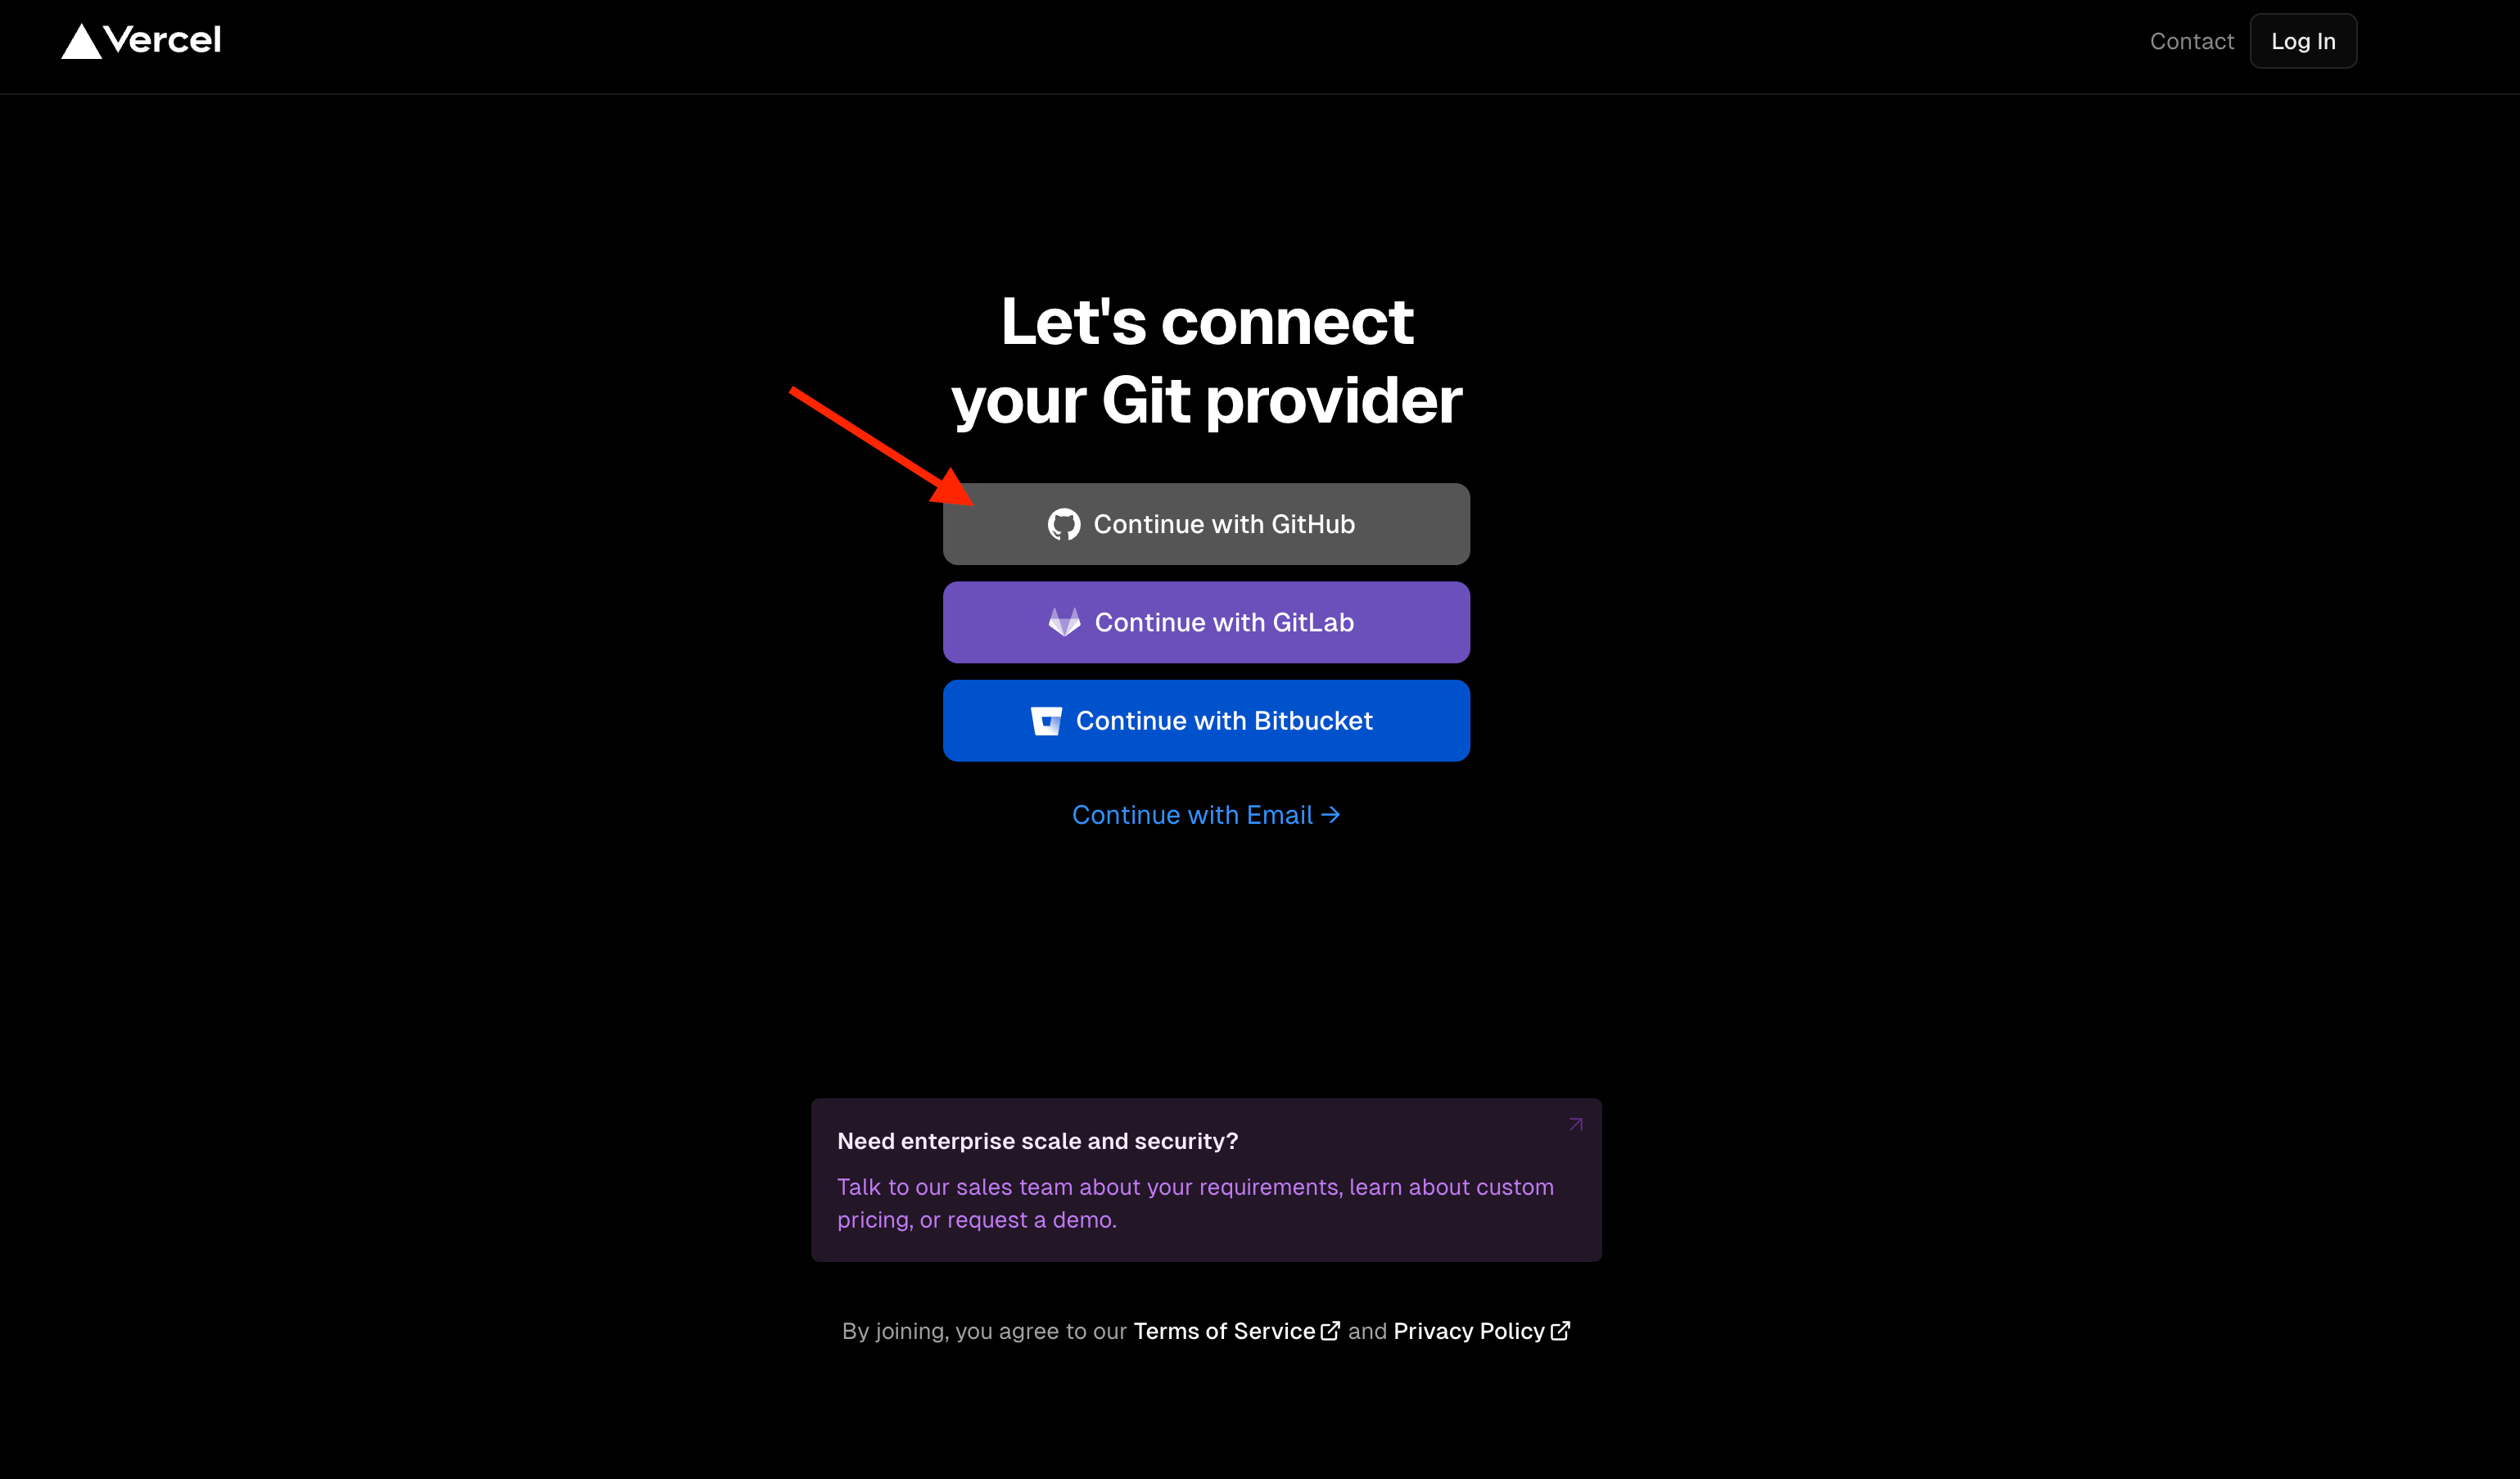
Step 3: Connect GitHub
Choose GitHub as your Git provider and authorize Vercel to access your repositories.
After the connection is complete, return to your Vercel dashboard.
3. Deploy Your Project to Vercel
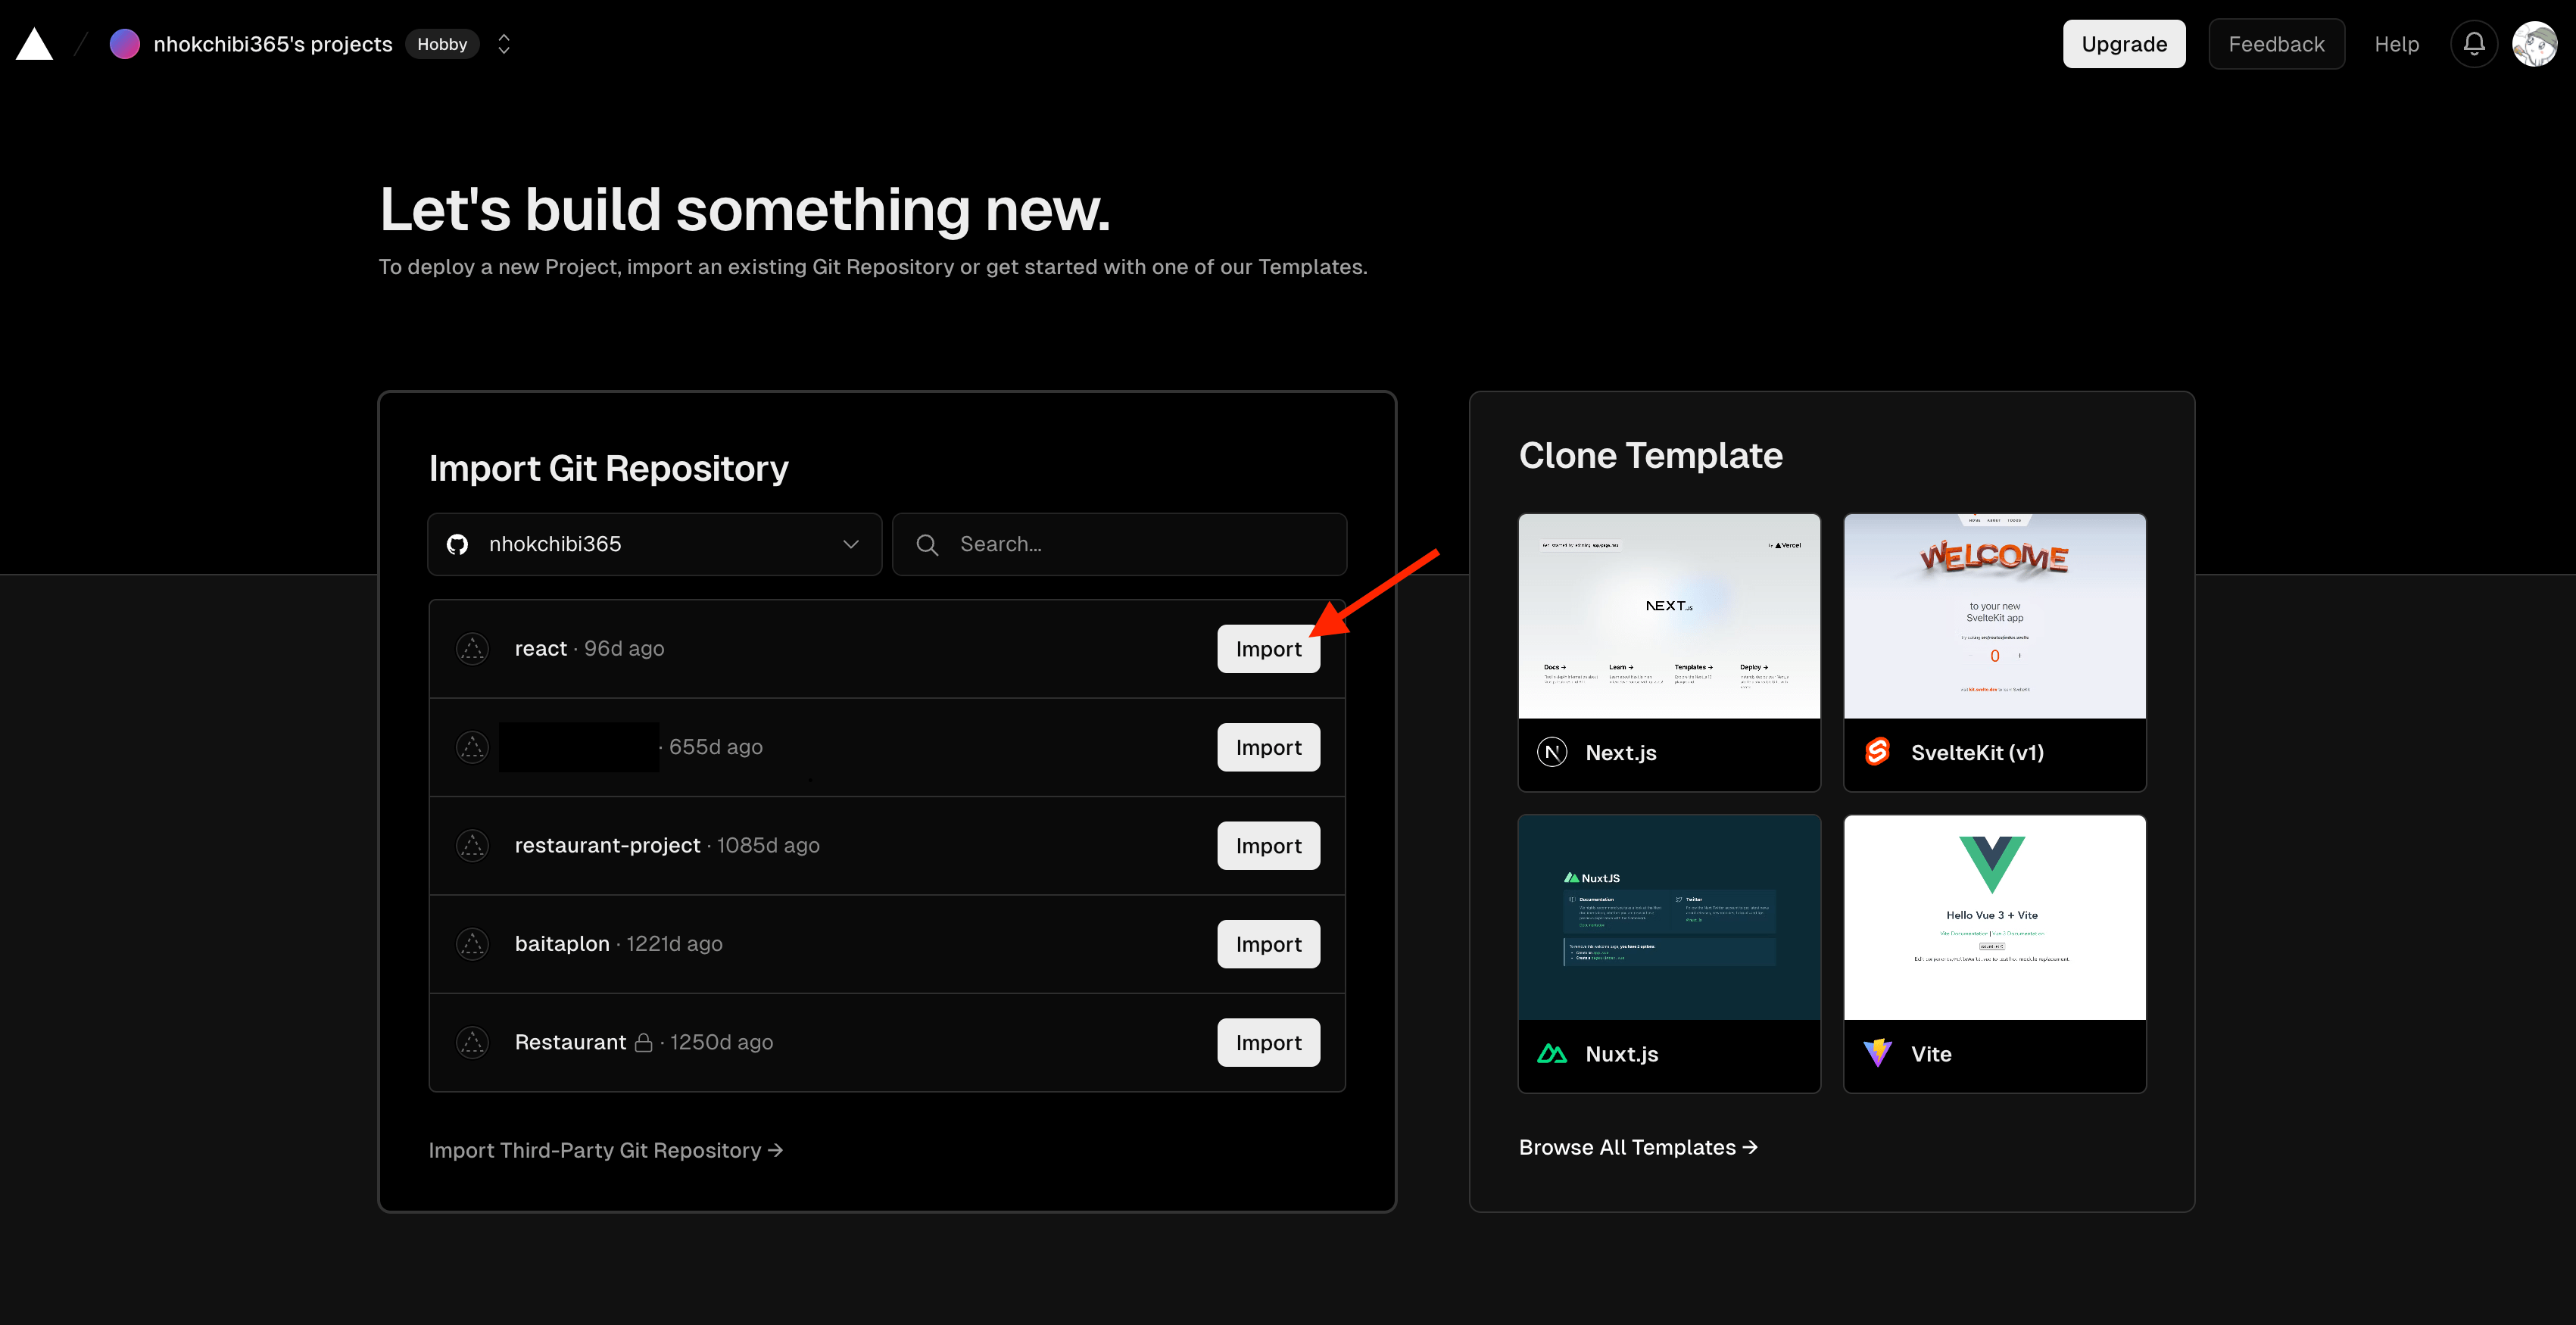
Step 1: Import the GitHub Repository
From the Vercel dashboard, create a new project and import the GitHub repository you want to deploy.
Vercel will display the repositories that it has permission to access.
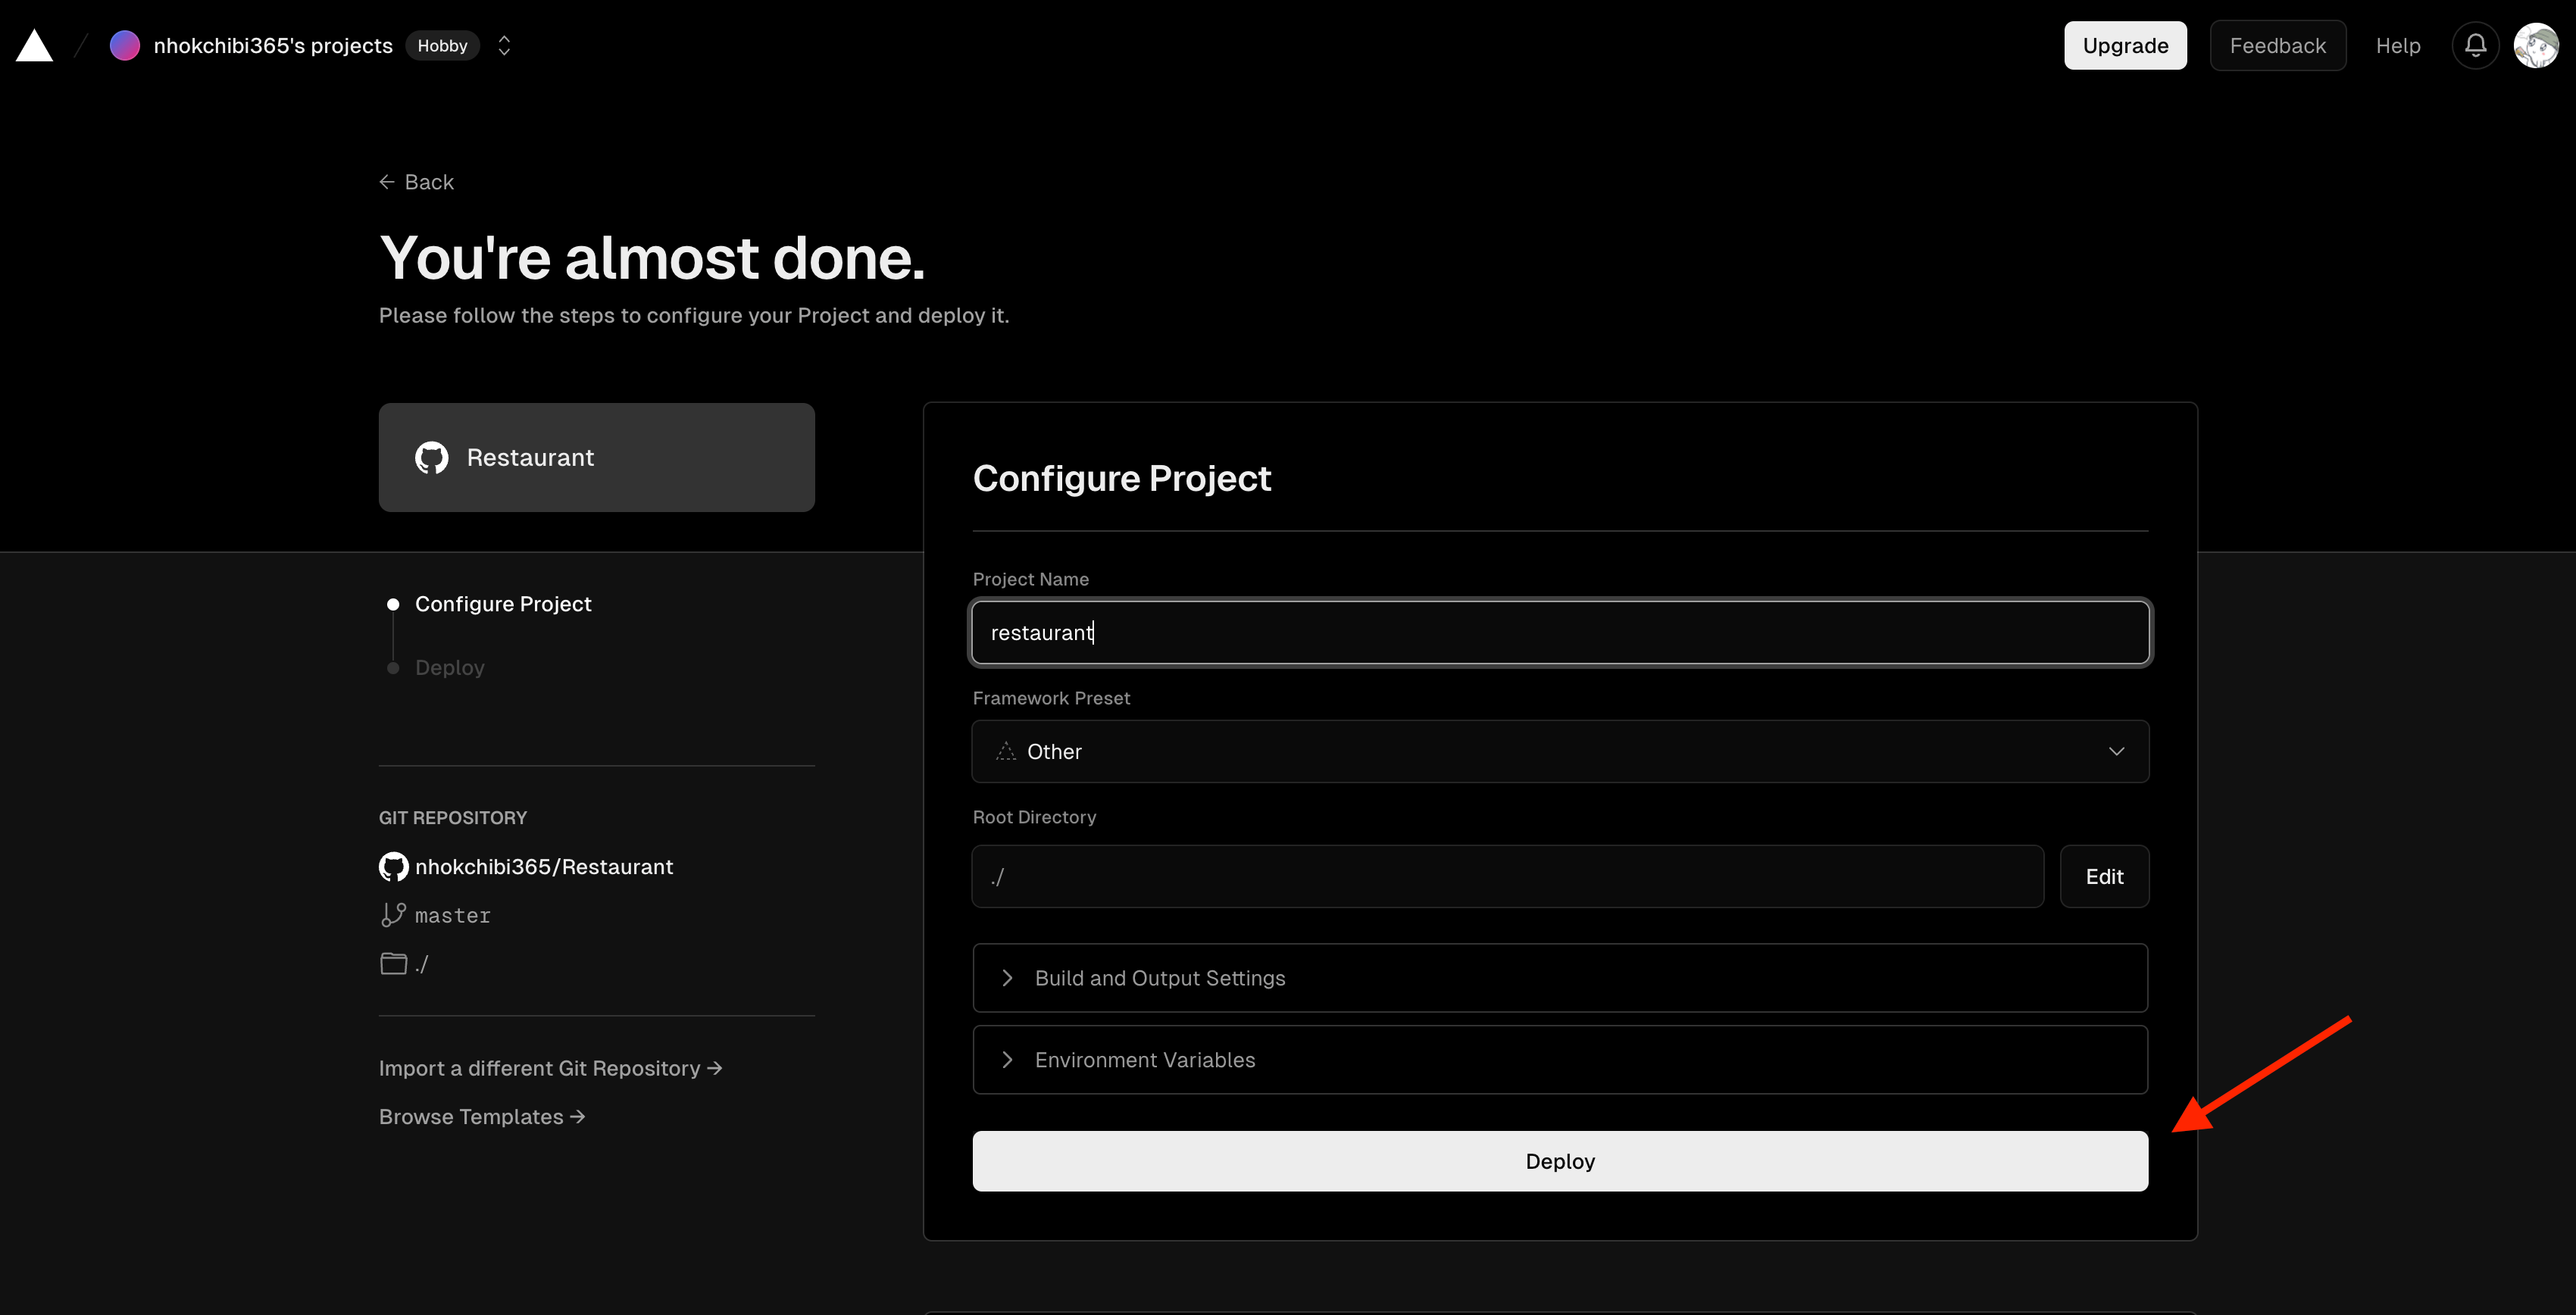
Step 2: Configure the Project
Before deploying, review the project configuration.
You can configure settings such as:
Project name
Framework preset
Root directory
Build command
Output directory
Environment variables
Vercel can automatically detect the framework for many common projects. Check the detected settings before continuing.
When everything is ready, click Deploy.
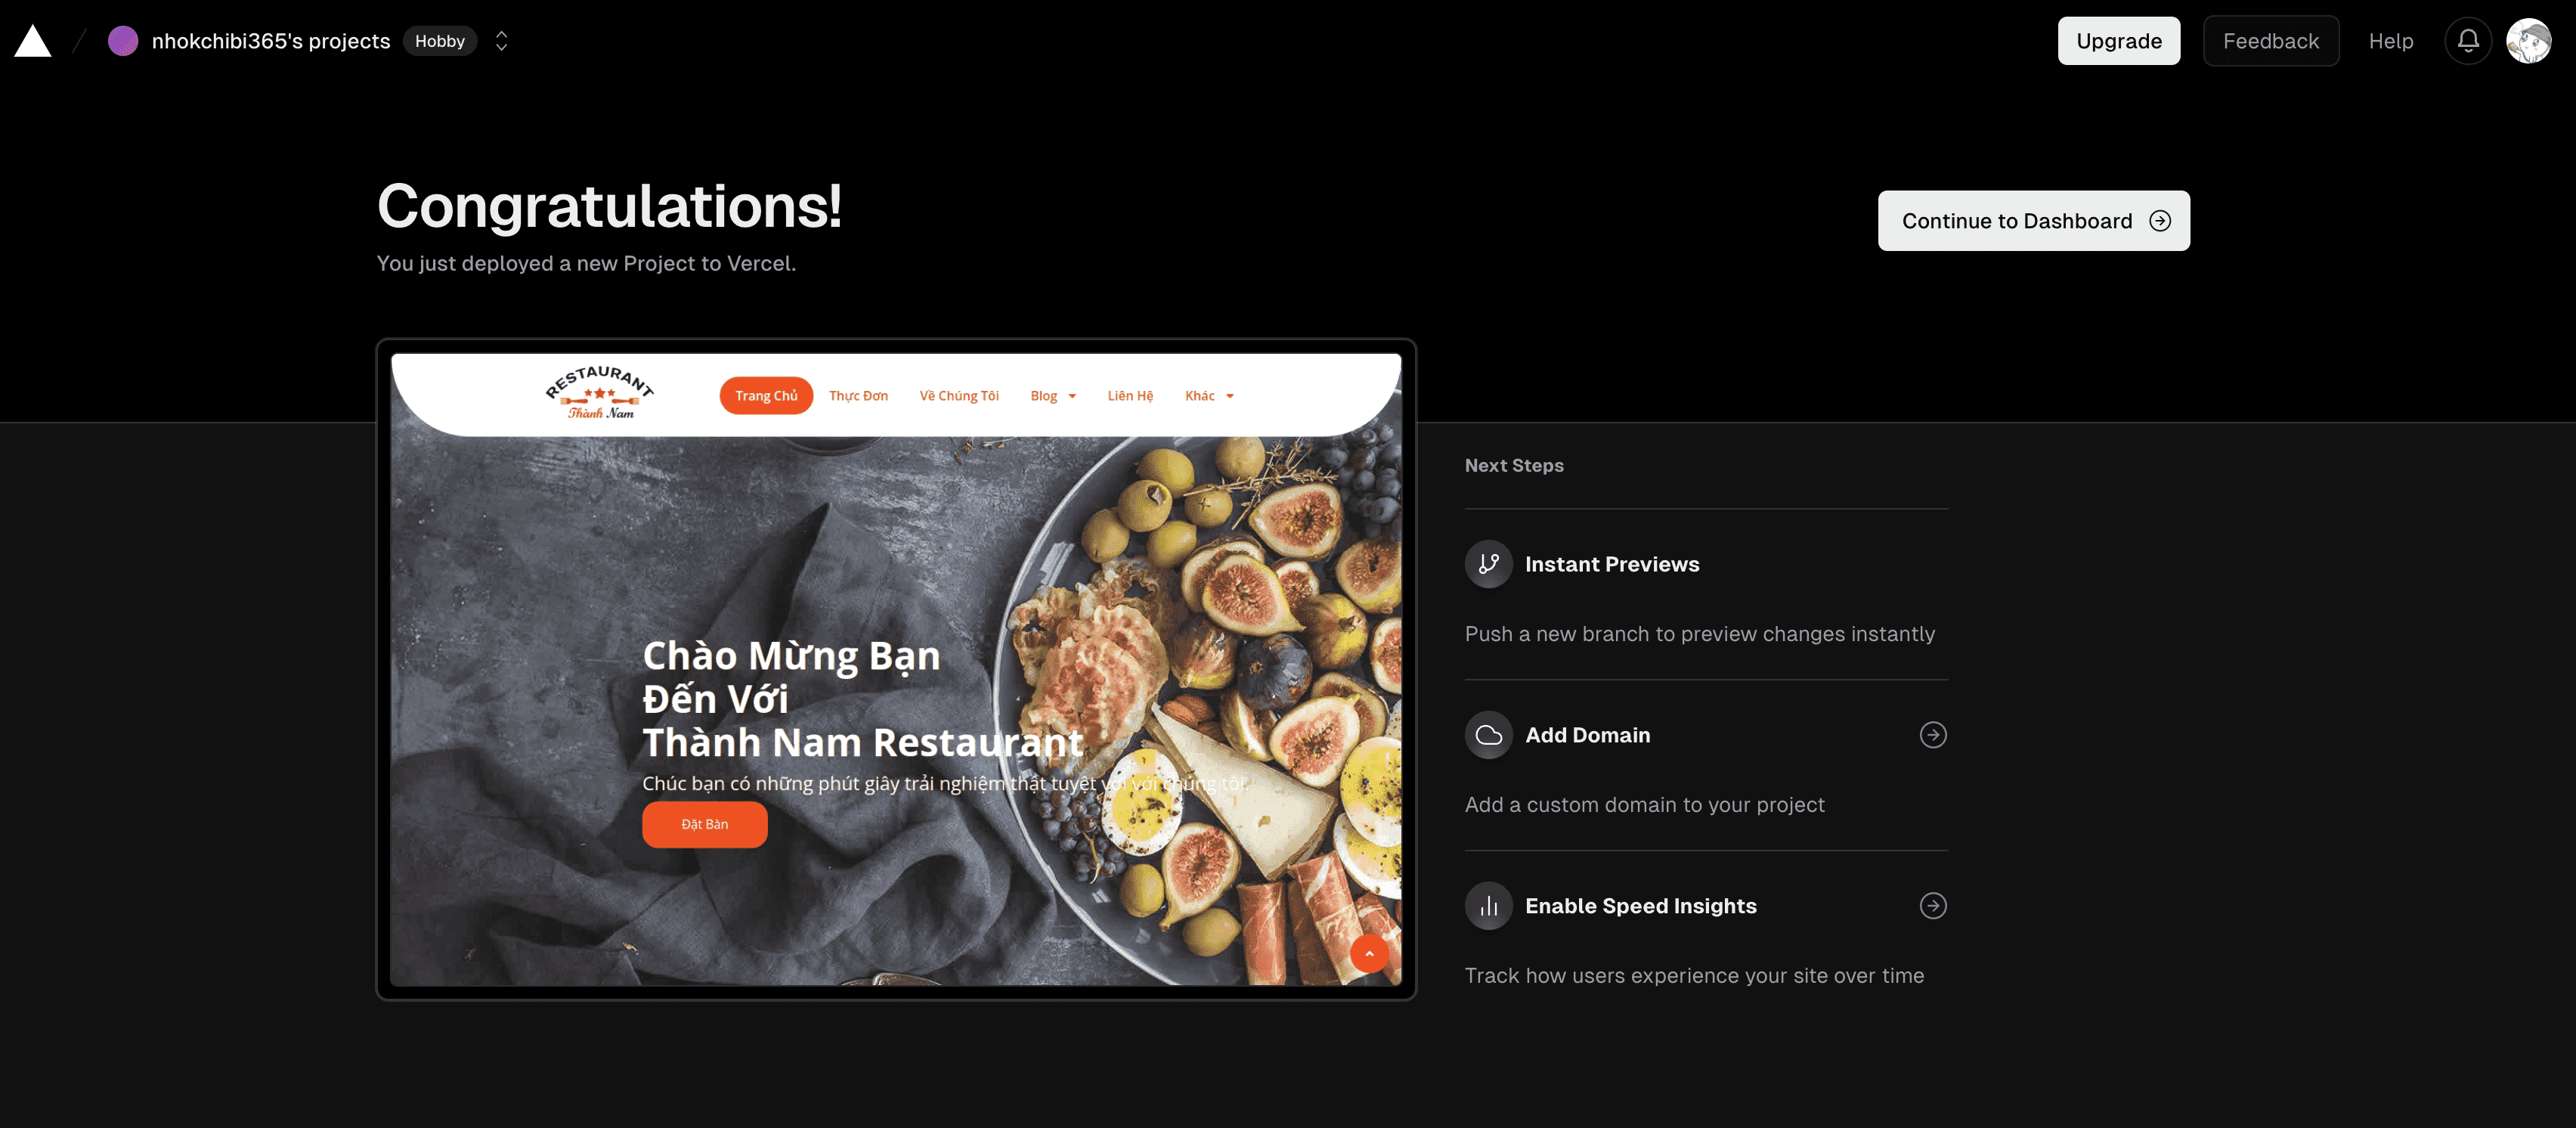
Step 3: Open the Deployed Website
After the deployment is complete, Vercel will provide a public URL for your website.
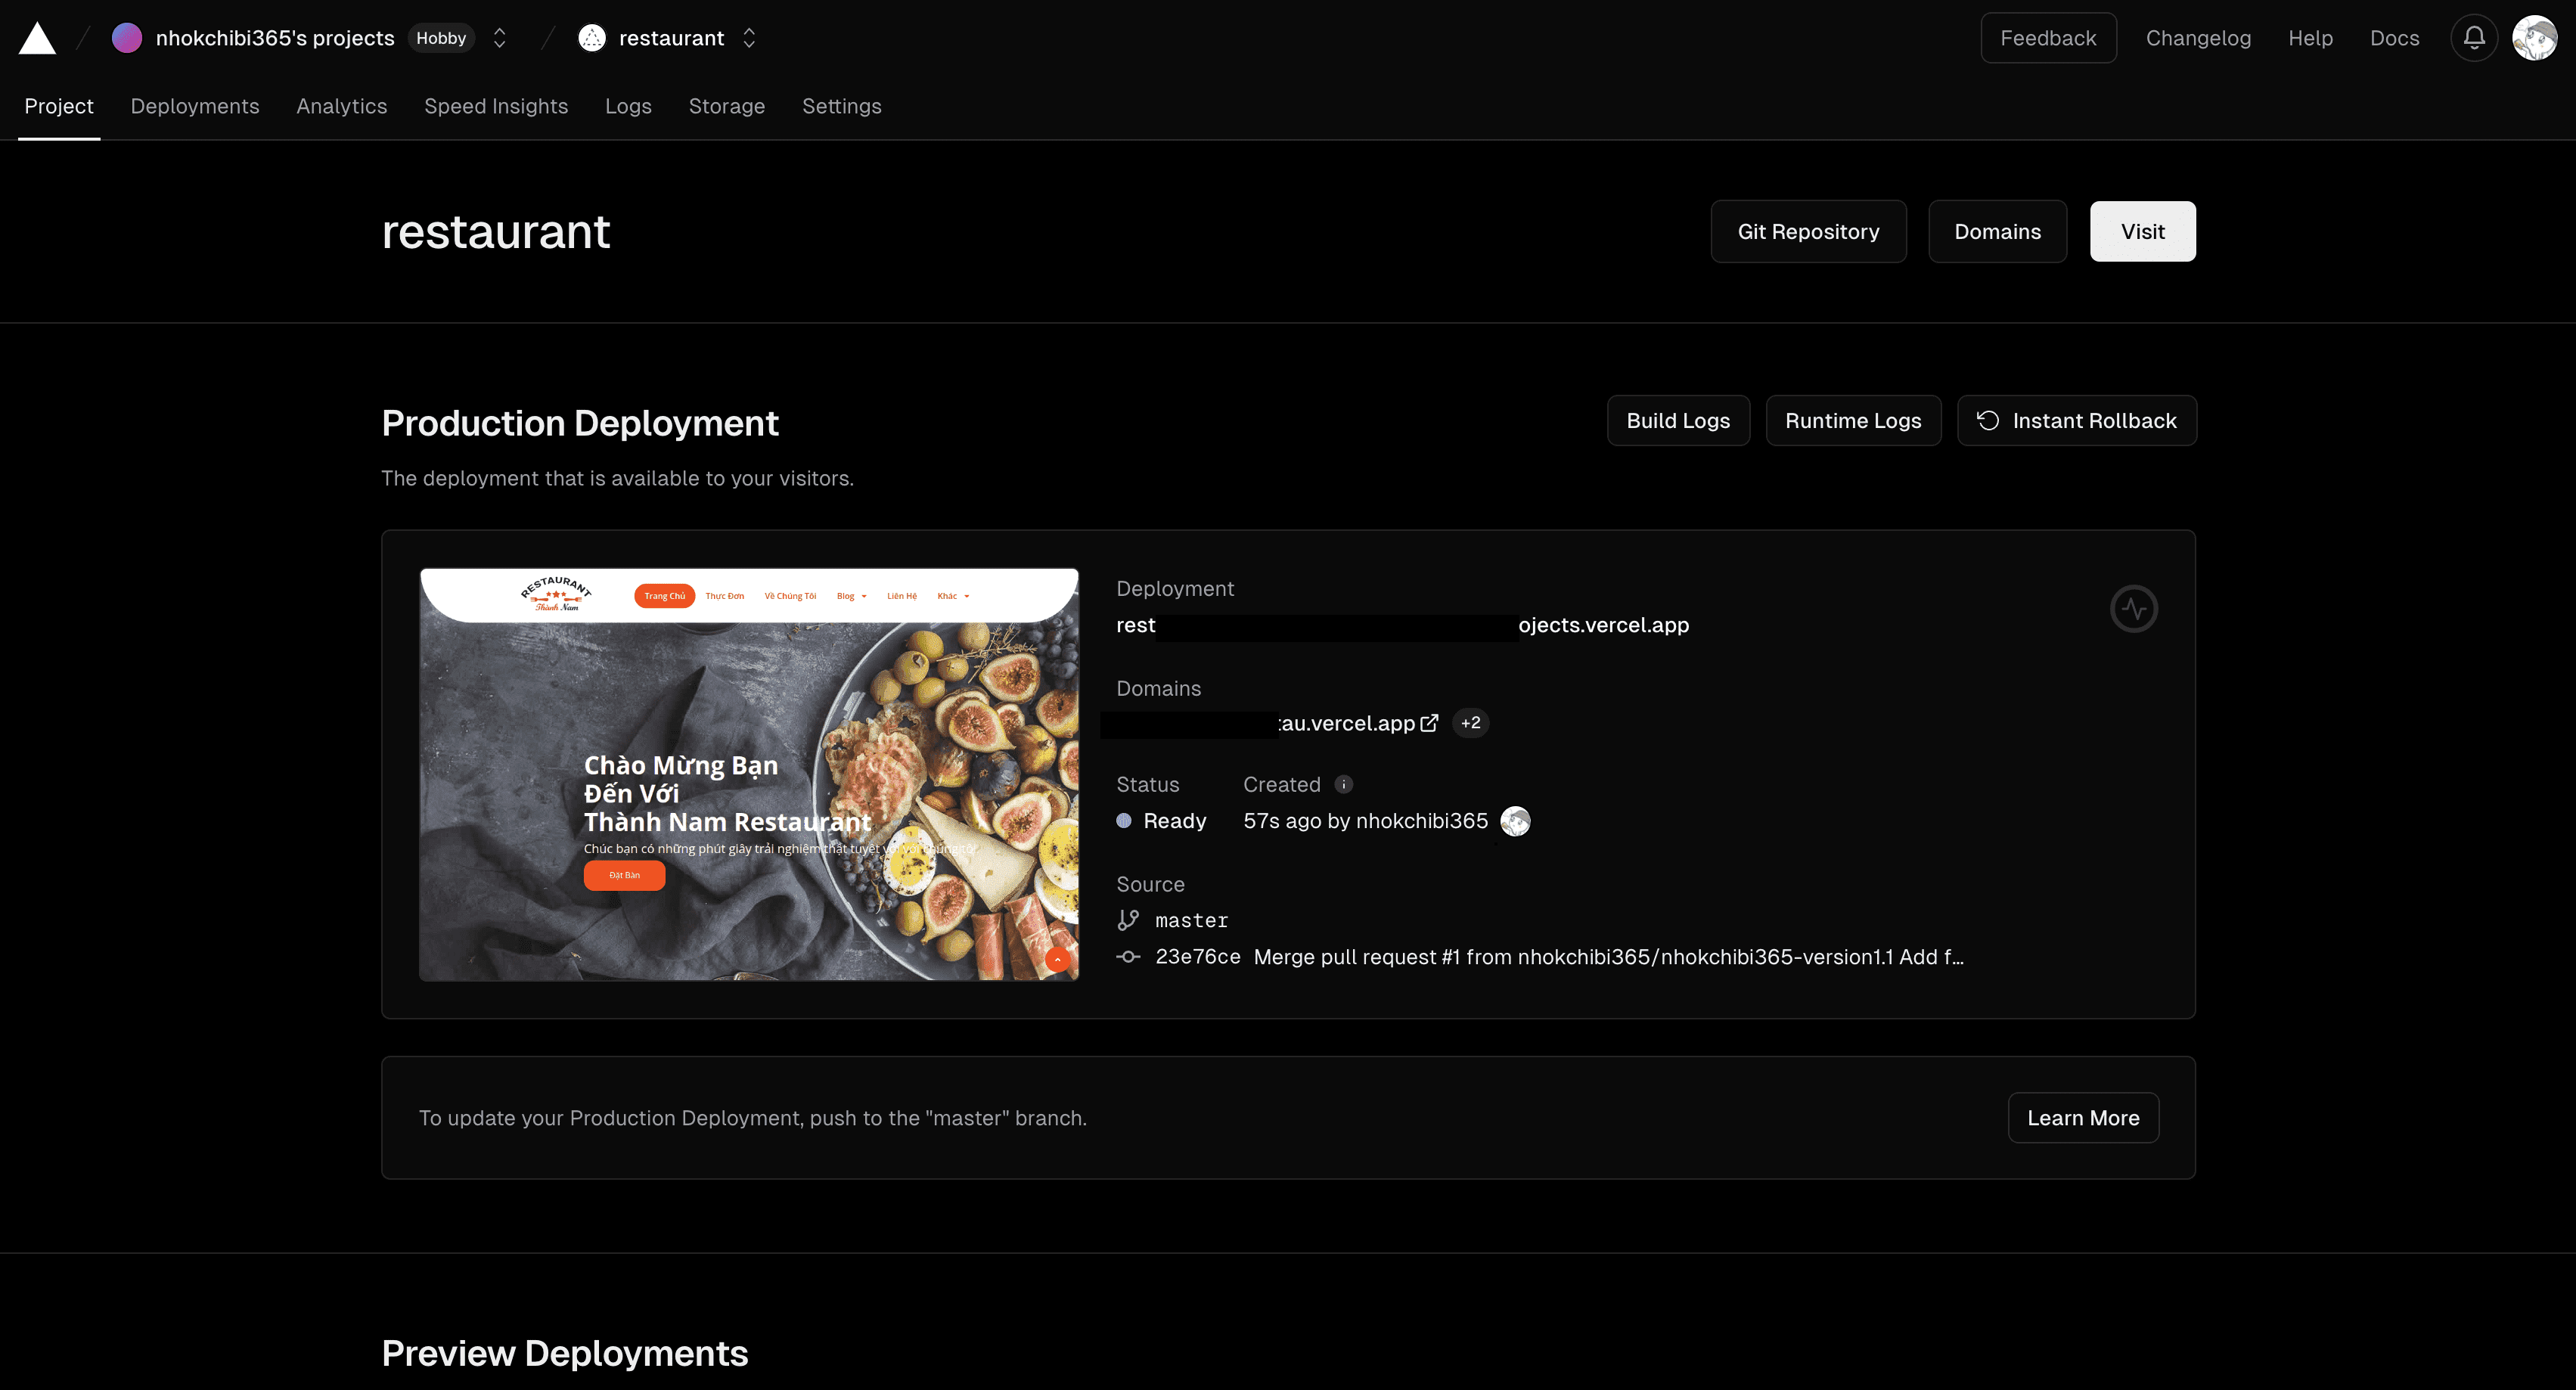
Return to the project dashboard to view the website URL, manage domains, review deployments, or change the project settings.
Once the repository is connected, future pushes can automatically create new deployments.
Deploy a website to Vercel faster with HTML Deployer
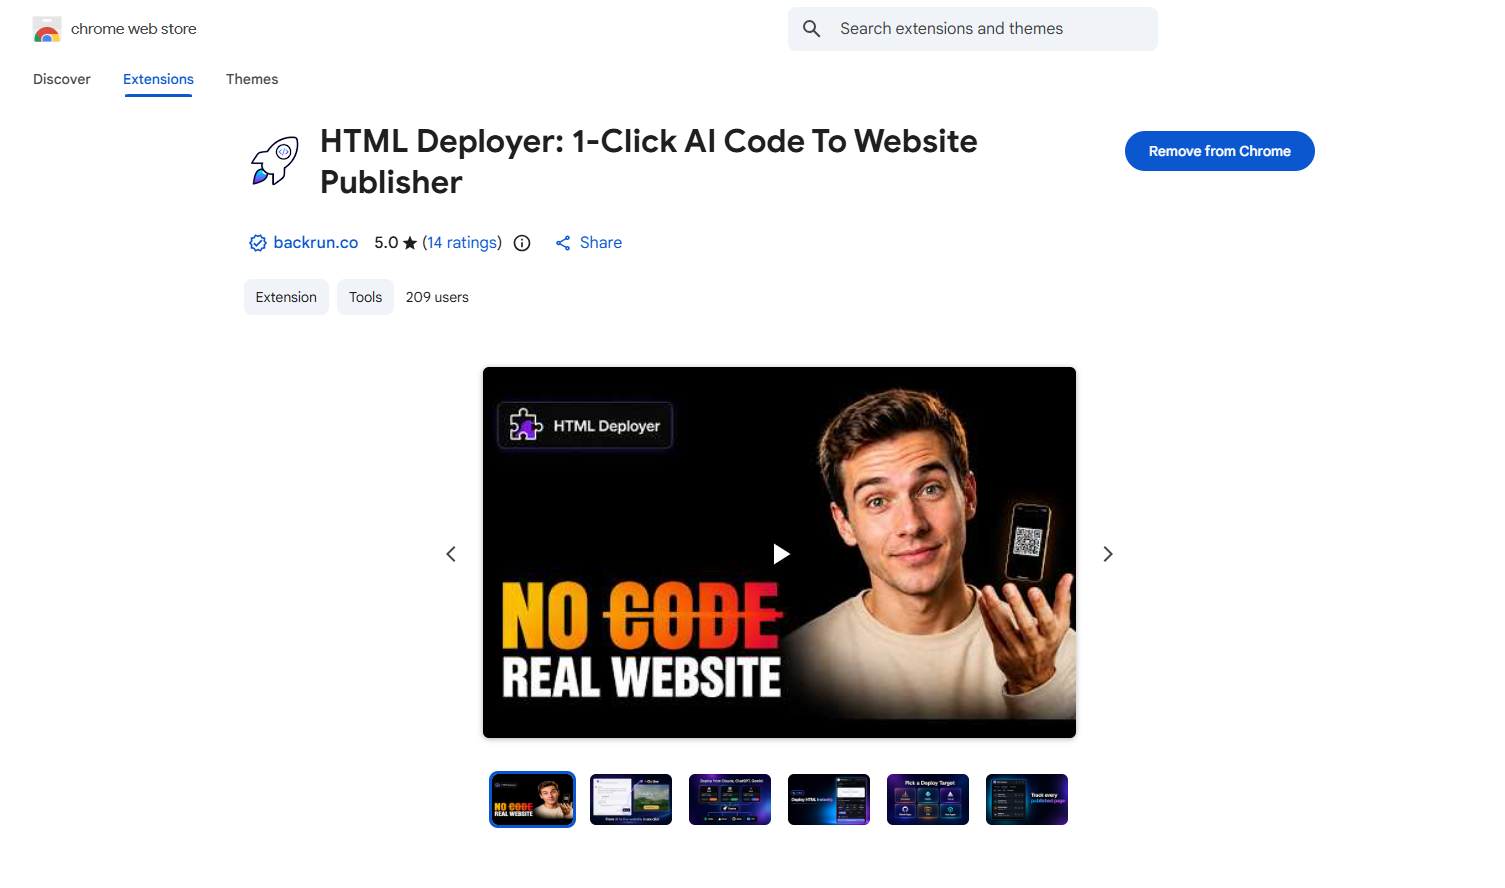
If you created a static HTML page with ChatGPT, Claude, or Gemini, HTML Deployer provides another way to publish it to Vercel.
HTML Deployer is a Chrome extension that detects AI-generated HTML, lets you preview the page, and publishes it to a configured hosting target.
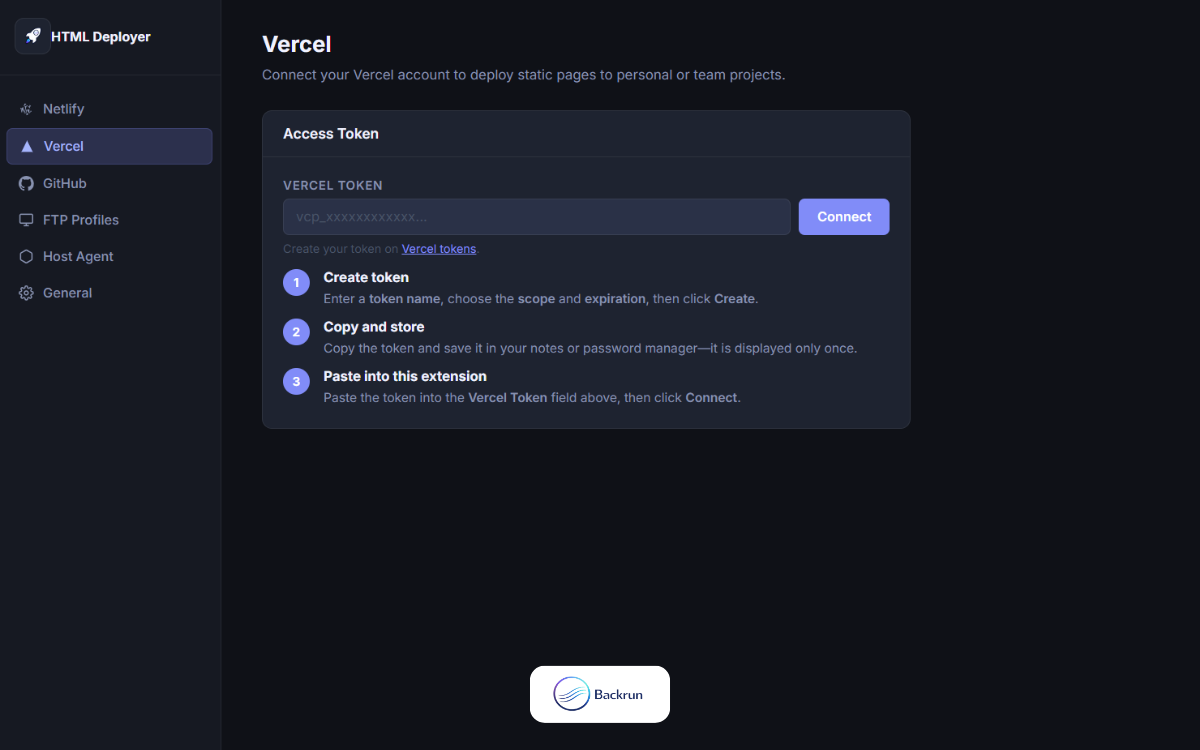
Set Up Vercel in HTML Deployer
Open the Settings area in HTML Deployer.
Add Vercel as a publishing target.
Enter the required Vercel credentials and configuration details.
Save the settings and confirm that the target is connected.
Deploy AI-Generated HTML to Vercel
Generate an HTML page with ChatGPT, Claude, or Gemini.
Click the Deploy button beside the HTML code.
Preview the page on desktop, tablet, and mobile.
Choose the option to publish the page directly.
Select Vercel as the deployment target.
Click Deploy to Host.
Open the generated website URL and review the live page.
This method is useful for landing pages, prototypes, portfolios, campaign pages, and small static websites generated with AI.
For larger applications that require version control, team collaboration, and continuous updates, connecting a Git repository to Vercel is usually the better option.
Conclusion
Vercel is a convenient platform for deploying static websites, frontend projects, and full-stack web applications.
When learning how to deploy on Vercel, you can choose between two main workflows:
Connect a GitHub repository for automatic deployments and ongoing development.
Use HTML Deployer to preview and publish AI-generated HTML with fewer manual steps.
We hope this guide has helped you understand how to deploy to Vercel and publish your project online successfully.
You can also explore other deployment platforms, such as: