How to Deploy a Project to Cloudflare Pages for Free
June 17, 20266 min read
If you have a static website, portfolio, landing page, or front-end project ready on GitHub, Cloudflare Pages is one of the simplest ways to publish it online for free. This guide shows how to deploy project to Cloudflare Pages, what to prepare first, and which settings to check before you share the live URL.
When Cloudflare Pages Is the Right Hosting Choice
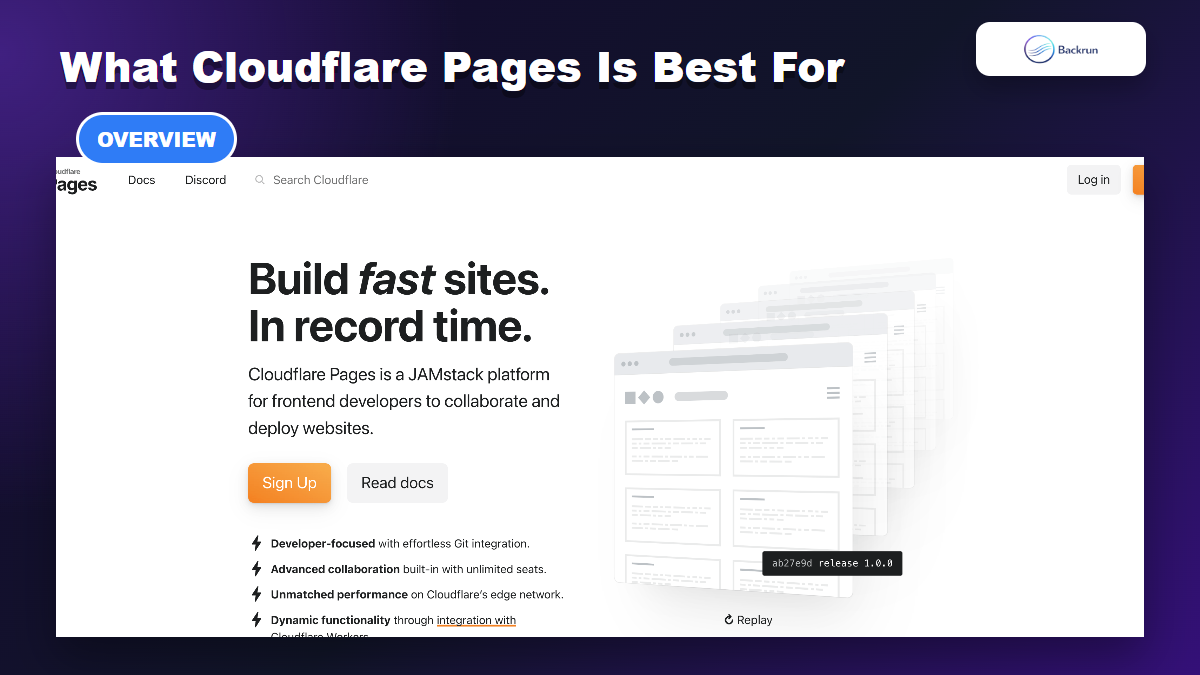
Cloudflare Pages is a hosting platform for static sites and modern front-end projects. It works especially well for JAMstack sites, personal blogs, portfolios, documentation sites, landing pages, and small business websites that do not need a traditional server.
The main reason developers like it is the deployment flow: connect a GitHub or GitLab repository, choose the build settings, and Cloudflare builds and publishes the site each time you push to the production branch. Cloudflare's official Git integration guide also notes that Pages supports GitHub and GitLab repositories, including private and public projects.
Fast global delivery through Cloudflare's network.
Automatic deployment from Git after every push.
Preview deployments for branches and pull requests.
Custom domain support when the project is ready for production.
A free starting point for personal projects, tests, and small static websites.
Prepare Your Project Before You Deploy
The free tier is usually enough for personal projects, demos, and small static sites.
Before you deploy project to Cloudflare Pages, make sure the project can be built cleanly outside your local computer. Most deployment issues come from missing environment variables, wrong output directories, or build commands that only work locally.
Prepare these items first:
A Cloudflare account with access to Workers & Pages.
A GitHub or GitLab repository if you want automatic deployments.
A production branch, usually main or master.
A build command, such as npm run build, if your framework needs one.
A build output directory, such as dist, build, out, or public.
Accuracy note: Cloudflare's Git integration documentation says the build output directory is the folder uploaded as your website content. If you choose the wrong output directory, the deployment may succeed but the live site can still look blank.
Connect Your Repository to Cloudflare Pages
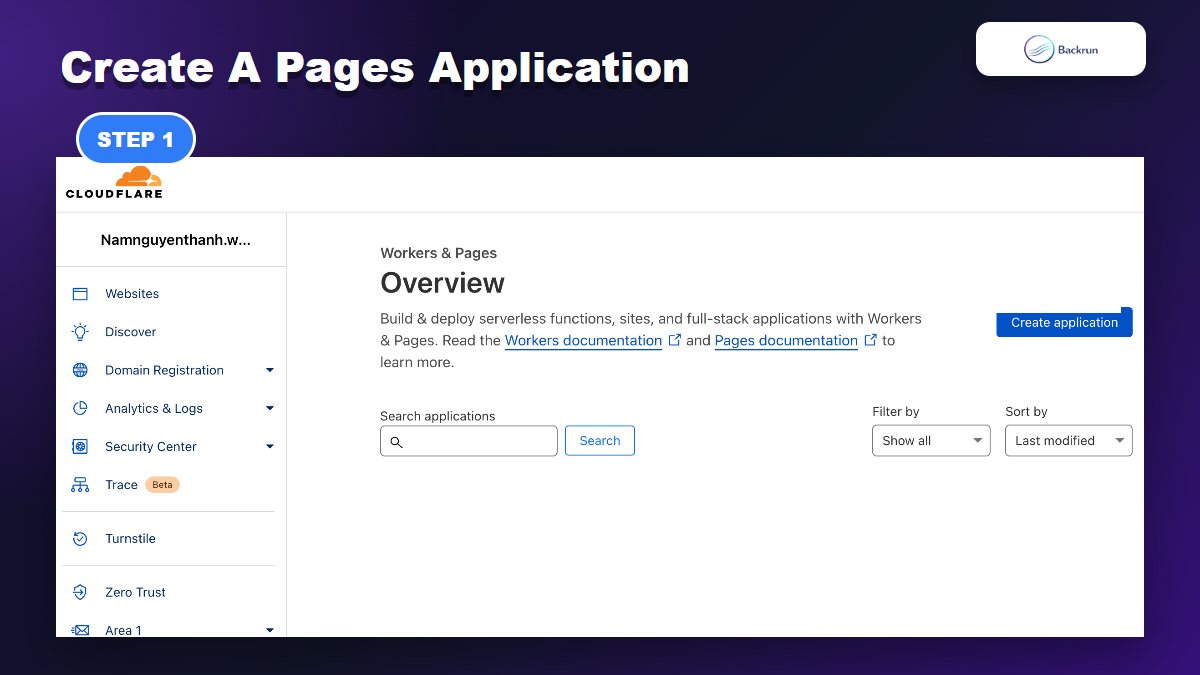
Start from Workers & Pages, then create a Pages application.
To start the deployment, open the Cloudflare dashboard and go to Workers & Pages. Choose Create application, select Pages, and then choose whether you want Git integration or Direct Upload.
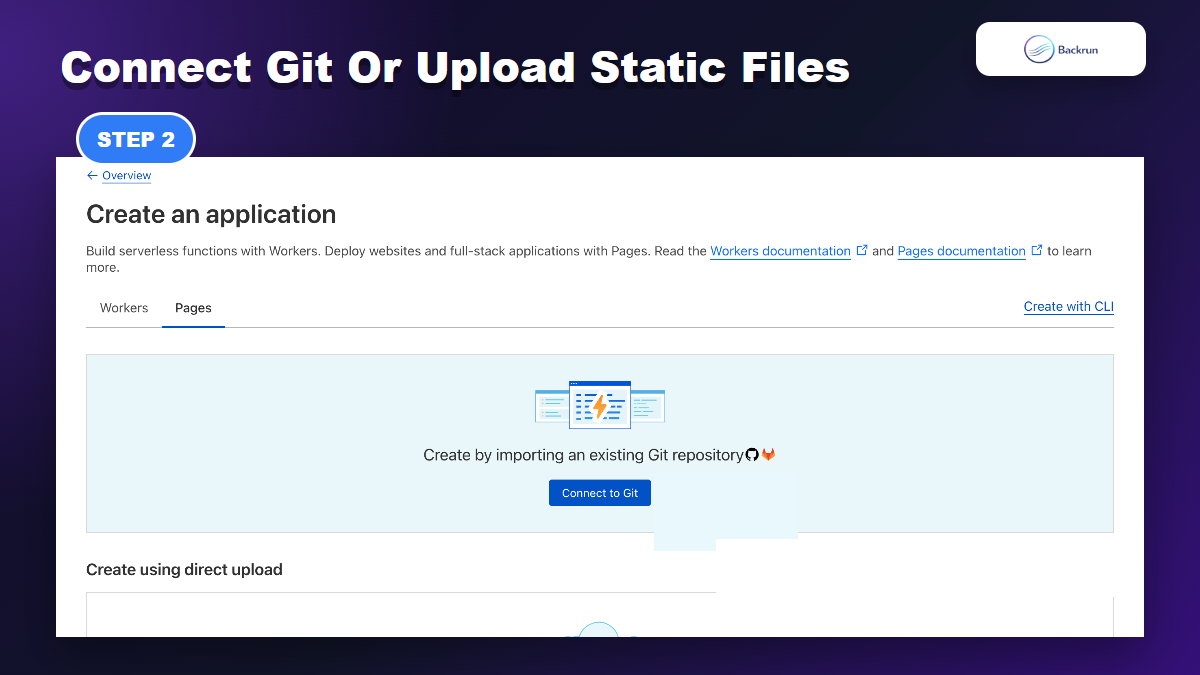
For most projects, Git integration is the better default because it keeps future deployments automatic. The flow is:
Select Create application in Workers & Pages.
Choose Pages as the application type.
Connect to Git and authorize GitHub or GitLab.
Select the repository you want to deploy.
Begin setup and move to build configuration.
Cloudflare also supports Direct Upload, which is useful when you already have static files and do not want a Git-connected project. However, Cloudflare notes that Git-integrated projects cannot later switch to Direct Upload, so choose the deployment model intentionally.
Set Build Command, Output Directory, and Branch
Use Git integration for continuous deploys, or Direct Upload for static files.
The setup screen is where most first-time deployment mistakes happen. To deploy project to Cloudflare Pages correctly, match Cloudflare's build settings to the framework you are using.
Use these common defaults as a starting point:
Project type
Build command
Output directory
Plain HTML/CSS/JS
Leave blank
Project root or selected static folder
Vite / React / Vue
npm run build
dist
Next.js static export
npm run build
out, when configured for static export
Gatsby
gatsby build
public
Pick the production branch that should publish the real site. Other branches can be used for preview deployments, which is helpful when you want to test changes before merging.
Deploy, Test, and Fix Common Cloudflare Pages Issues
After deployment, open the generated Pages URL and verify the live site.
After the build settings are ready, select Save and Deploy. Cloudflare will install dependencies, run the build command, upload the output directory, and give you a *.pages.dev URL when deployment finishes.
Open the live URL and check:
The homepage loads without a blank screen.
CSS and JavaScript files load without 404 errors.
Internal routes work after refresh, especially for single-page apps.
Images and fonts load from the correct paths.
Environment-dependent features use production variables, not local values.
If the site is blank, check the output directory first. If assets are missing, inspect the base path and build configuration. If a branch did not deploy, confirm that the repository was authorized and that the branch is allowed to trigger deployments.
Cloudflare Pages Compared With Other Free Deploy Options
Choose the platform based on deployment workflow, framework fit, and long-term site needs.
Cloudflare Pages is a strong choice for static sites, but it is not the only option. If your goal is to deploy project to Cloudflare Pages, compare it against other free hosting tools by workflow, framework fit, and how much control you need after launch.
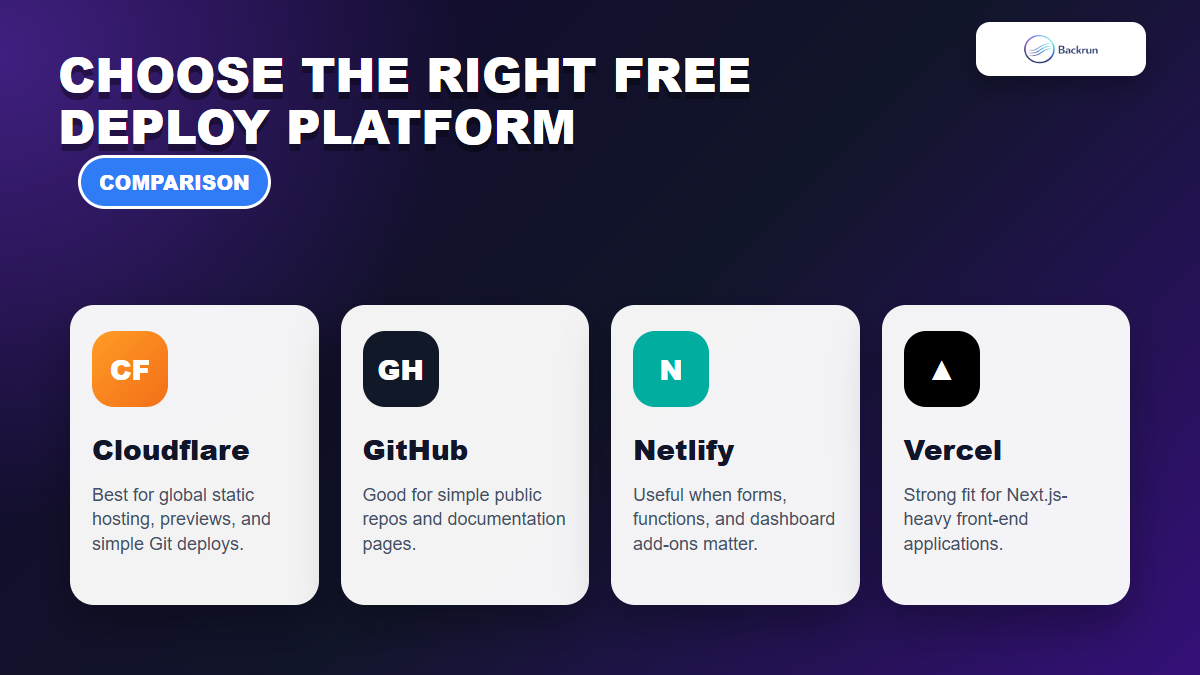
Use Cloudflare Pages when global performance, Git deploys, previews, and simple static hosting matter most.
Use GitHub Pages when the project is simple and already lives in a public GitHub workflow. Backrun also has a guide on how to deploy GitHub Pages.
Use Netlify when you want an approachable dashboard and form/function add-ons. See Backrun's Netlify deployment guide.
Use Vercel when your project is heavily Next.js-oriented. Backrun's Vercel guide is a useful comparison point.
For a typical portfolio, documentation page, landing page, or front-end demo, Cloudflare Pages is usually enough. The key is to keep the build settings precise and test the generated URL before announcing the project.
Frequently Asked Questions
These are the questions that usually come up when someone tries to deploy project to Cloudflare Pages for the first time, especially when choosing between Git integration and direct upload.
Can I deploy a private GitHub repository to Cloudflare Pages?
Yes. Cloudflare Pages can deploy public and private GitHub or GitLab repositories after you authorize access to the repository.
Do I need a framework to use Cloudflare Pages?
No. Cloudflare's docs state that no framework is required. A plain static HTML, CSS, and JavaScript project can be deployed without a build command.
What should I enter as the build output directory?
Use the folder created by your build command. Vite often uses dist, Gatsby commonly uses public, and static exports may use a framework-specific folder such as out.
Can I upload files directly instead of connecting Git?
Yes. Cloudflare Pages supports Direct Upload, but choose carefully because Cloudflare notes that Git-integrated projects cannot later switch to Direct Upload.
The reliable way to deploy project to Cloudflare Pages is simple: prepare the repository, choose the right deployment model, set the build command and output directory correctly, then verify the live URL before sharing it. Once you can deploy project to Cloudflare Pages confidently, the next step is adding a custom domain and tracking real user behavior.